
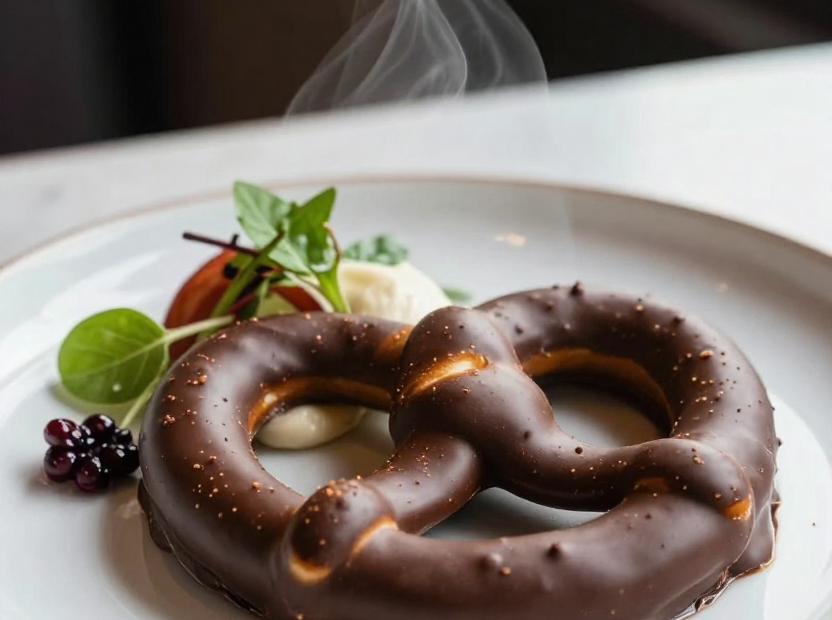
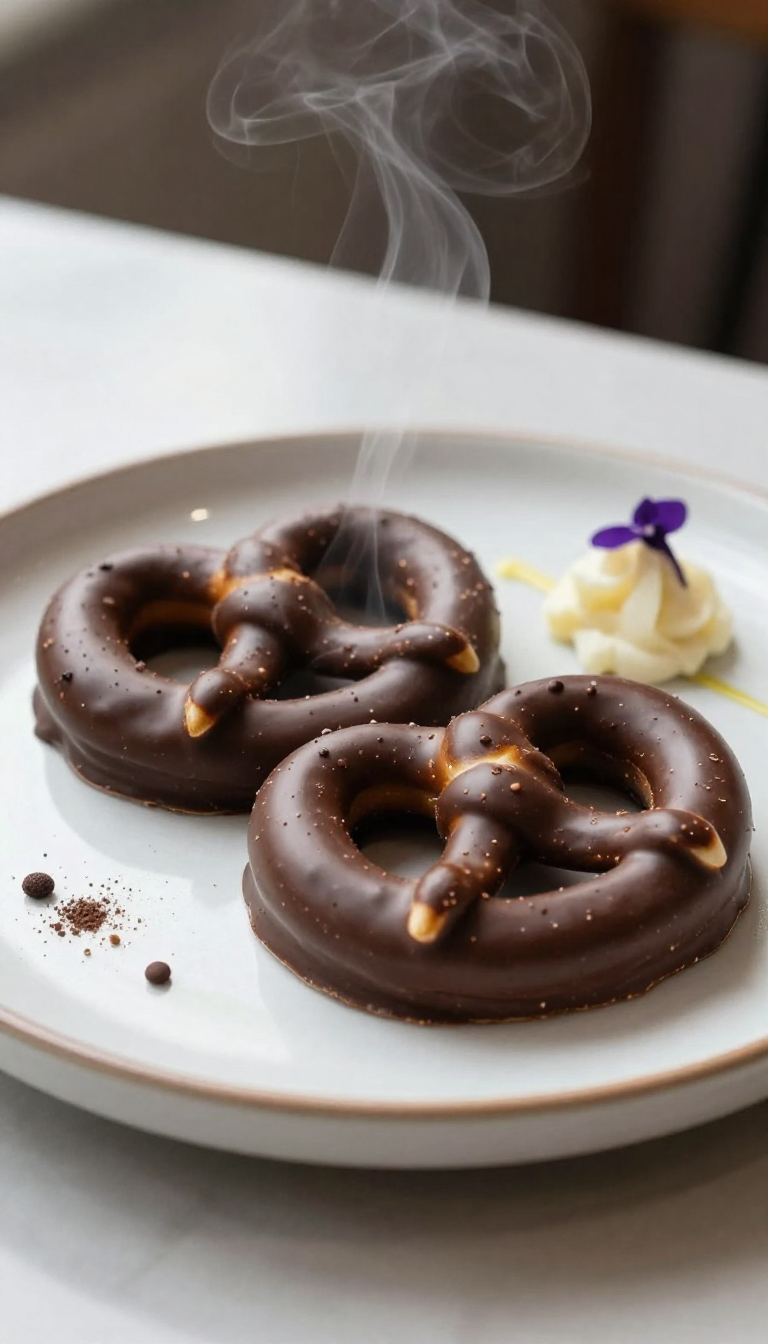
There’s something undeniably magical about the first bite of a chocolate-covered pretzel. The sweet, smooth chocolate gives way to the satisfying snap of a salty pretzel — it’s like a flavor party in your mouth. I remember making these for my daughter’s birthday party last year, and they vanished before the cake even made it to the table. Everyone raved, and honestly, I didn’t even think I’d be sharing the recipe. But here we are — because if you’ve ever wondered how to make these at home, you’re in the right place.
📋 Quick Recipe Overview
Nutrition Facts (per serving)
Ingredients
Quick Steps
- 1. Melt chocolate and coconut oil together
- 2. Dip pretzel rods halfway into chocolate
- 3. Add sprinkles or sea salt while chocolate is wet
- 4. Place on parchment paper to set
- 5. Chill in fridge for 15 minutes
- 6. Serve and enjoy!
Why You’ll Love This Chocolate Covered Pretzels Recipe
Let’s be real — these aren’t just snacks. They’re little bites of happiness. Whether you’re prepping for a holiday gathering, a movie night, or just craving something sweet and salty, these pretzels deliver. They’re easy, no-bake, and take less than 30 minutes from start to finish. Plus, they’re so customizable — you can go classic, festive, or even gourmet with different toppings.
And the best part? You probably already have most of the ingredients in your kitchen. No fancy equipment needed. Just a microwave, a bowl, and a little patience while the chocolate sets. I’ve made these with kids, with friends, and even by myself when I needed a quick pick-me-up. Every time, it’s a win.
What You’ll Need to Make Chocolate Covered Pretzels
Here’s the thing — this recipe is so simple, you’ll wonder why you didn’t try it sooner. The ingredients are minimal, but the flavor is anything but basic. I like to use a mix of semi-sweet and milk chocolate for a rich, balanced taste. The coconut oil helps thin the chocolate just enough so it’s easy to dip without being too thick or too runny.
- 1 cup semi-sweet chocolate chips
- 1/2 cup milk chocolate chips
- 12 ounces pretzel rods (about 30-35 pieces)
- 1 tablespoon coconut oil
- 1/4 cup sprinkles (optional)
- 1/2 teaspoon sea salt flakes (optional)
- Toothpicks (optional, for dipping)
- Parchment paper
- Baking sheet
Pro tip: Use good quality chocolate chips. Cheap ones can seize or become grainy when melted. I swear by Ghirardelli or Guittard — they melt smoothly and taste better. Also, if you’re feeling fancy, try dark chocolate or white chocolate for a twist.
Step-by-Step: How to Make Chocolate Covered Pretzels
Ready to dive in? This is where the magic happens. The whole process is straightforward, but I’ll walk you through it so you don’t miss a beat.
- Line a baking sheet with parchment paper. This makes cleanup a breeze.
- In a microwave-safe bowl, combine the semi-sweet chocolate chips, milk chocolate chips, and coconut oil.
- Microwave in 30-second intervals, stirring after each, until smooth and fully melted. This usually takes 1-2 minutes total.
- Grab a pretzel rod and dip it halfway into the chocolate. Use a toothpick to help if needed — it’s like a little chocolate paintbrush.
- Immediately sprinkle with sprinkles or sea salt, if using. The chocolate needs to be wet for toppings to stick.
- Place the dipped pretzel on the parchment paper. Repeat with remaining pretzels.
- Chill in the fridge for 15-20 minutes to set the chocolate.
- Once firm, remove from fridge and serve. Store leftovers in an airtight container at room temperature for up to 3 days.
That’s it! I promise, even if you’ve never made candy before, you’ll nail this. The key is to work quickly while the chocolate is still warm and fluid. If it starts to thicken too much, just microwave for 10 seconds to loosen it up.
Tips for Success
Want to make sure your chocolate-covered pretzels turn out perfect every time? Here are my top pro tips:
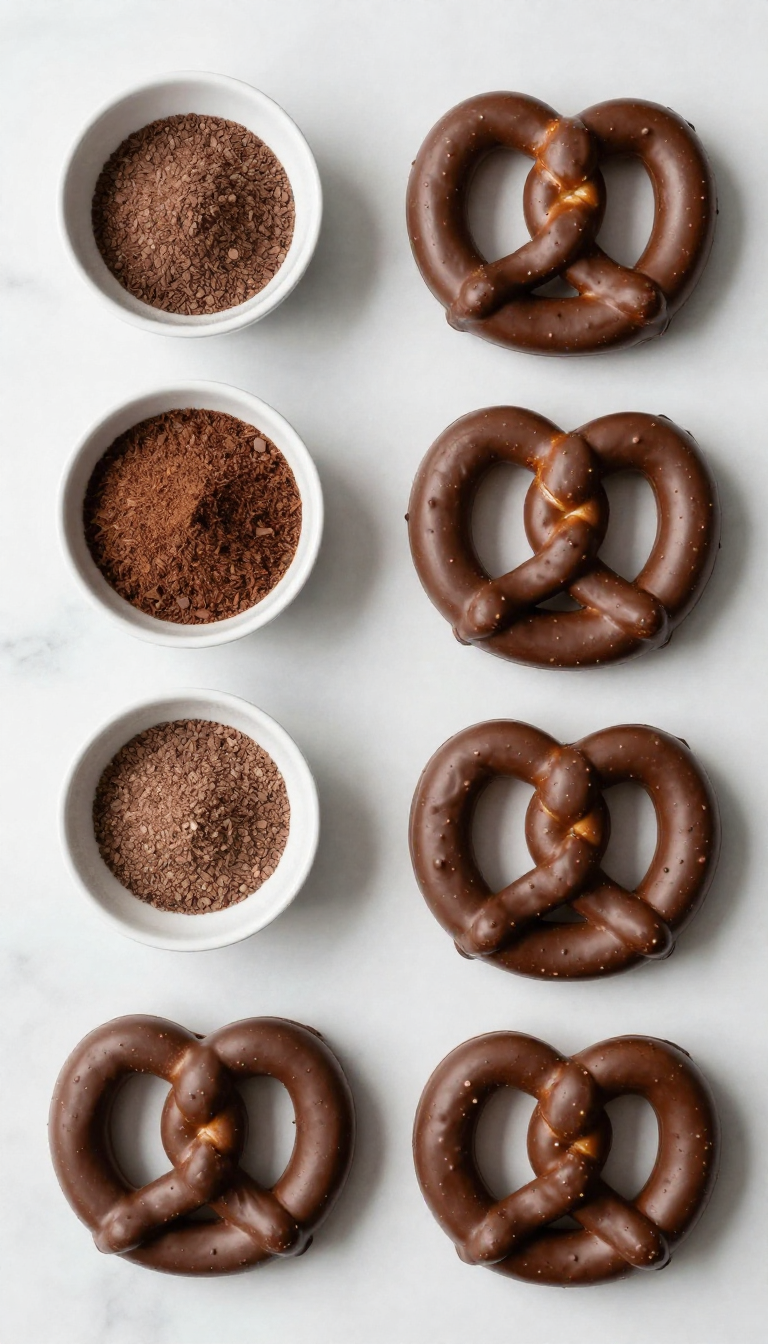
- Use a mix of chocolate types: Combining semi-sweet and milk chocolate gives you the best balance of sweetness and richness.
- Don’t skip the coconut oil: It prevents the chocolate from becoming too thick and helps it coat evenly.
- Work in batches: Don’t try to dip all the pretzels at once. Keep the chocolate warm and work in small groups to avoid it hardening too fast.
- Chill for faster setting: The fridge sets the chocolate much faster than room temperature. Just don’t leave them in too long or the chocolate might crack.
- Use toothpicks for precision: They’re especially helpful if you’re dipping with kids or want clean, even coats.
Common Mistakes to Avoid
Even the best of us make mistakes. Here’s what to watch out for:
- Overheating the chocolate: If you microwave too long, the chocolate can seize or burn. Always go in 30-second bursts and stir.
- Adding toppings too late: If the chocolate starts to set, sprinkles or salt won’t stick. Add them immediately after dipping.
- Using too much chocolate: Dip halfway, not all the way. You want that sweet-salty contrast, not a chocolate bomb.
- Not letting them set properly: Rushing this step leads to messy, sticky pretzels. Chill them until firm.
FAQ: Your Chocolate Covered Pretzels Questions Answered
Before you start dipping, you might be wondering a few things. Let me answer the most common questions.
Can I use dark chocolate instead?
Absolutely! Dark chocolate adds a bolder, less sweet flavor. I recommend using 70% cocoa or higher for a rich taste. You might want to add a tiny bit more coconut oil to help it melt smoothly, as dark chocolate can be thicker.
How long do chocolate covered pretzels last?
Stored in an airtight container at room temperature, they’ll stay fresh for up to 3 days. If you keep them in the fridge, they’ll last longer — about 5-7 days. Just let them come to room temperature before eating, or they might taste too cold and waxy.
Can I make these ahead of time for a party?
Yes! In fact, I always make them a day ahead. The chocolate sets better over time, and they’re easier to transport. Just keep them in a cool, dry place away from direct sunlight.
What other toppings can I use?
The sky’s the limit! Try crushed nuts, shredded coconut, crushed Oreos, or even a drizzle of white chocolate on top. For a festive touch, use holiday sprinkles or edible glitter. I once made a batch with crushed peanut butter cups — they were a hit at a game night.
Can I use a double boiler instead of microwaving?
Definitely. If you prefer the stovetop method, melt the chocolate and coconut oil over simmering water, stirring constantly. Just be careful not to let any water get into the chocolate — that’s a surefire way to seize it.
Final Thoughts: Share the Sweetness
Making chocolate-covered pretzels is one of those simple pleasures that brings joy to both the maker and the eater. I’ve given these as gifts, used them as party favors, and even packed them in my kids’ lunchboxes (they’re a hit with the teachers, too!).
There’s something so satisfying about creating something delicious with just a few ingredients. And when you bite into that perfect combo of creamy chocolate and crunchy pretzel, you’ll understand why this recipe is a go-to in my kitchen.
So grab your bowl, melt some chocolate, and get dipping. Whether you’re treating yourself or sharing with loved ones, these chocolate-covered pretzels are sure to bring a smile. And if you try them, I’d love to hear how they turned out — drop me a note in the comments below!