
Ever find yourself staring at a wilted bunch of basil, knowing you paid good money for it just three days ago? Yeah, me too.
That guilty feeling hits different when you realize you could’ve saved those herbs with about five minutes of effort. Trust me, freezing fresh herbs in olive oil is the game-changer your kitchen needs.
Why Bother Freezing Herbs in Olive Oil?
Let’s be real—fresh herbs are amazing but they’re also drama queens. They wilt faster than my motivation on Monday mornings. You buy a huge bunch for one recipe, use maybe three sprigs, and the rest turn into green mush in your crisper drawer.
Freezing them in olive oil solves this problem beautifully. You get perfectly portioned herbs ready to toss into any dish. No chopping, no washing, no stress. Just pop a cube into your pan and boom—instant flavor upgrade.
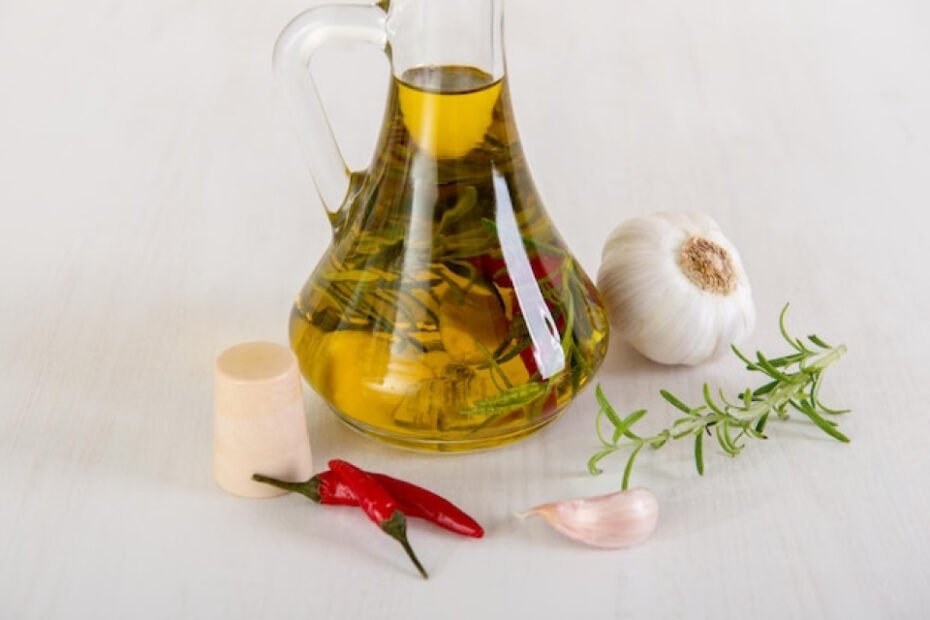
The olive oil does double duty here. It preserves the herbs while creating ready-to-use flavor bombs. When you’re sautéing vegetables or starting a soup, you’re adding both fat and herbs in one go. Pretty genius, right?
The Science Behind It (Don’t Worry, Super Quick)
Herbs lose flavor when they oxidize—basically, when air hits them. Olive oil creates a protective barrier that keeps oxygen out. This means your herbs stay fresher longer and maintain most of their flavor and aroma.
Freezing stops enzyme activity that causes decay. Combined with the oil barrier, you’ve got herbs that can last 3-6 months in your freezer. That’s a huge win compared to the pathetic 3-5 days you get with fresh herbs in the fridge.
What You’ll Need
Herbs That Work Best
Not all herbs are created equal for this method. Some freeze like champs, others… not so much. Here’s the breakdown:
Best choices:
- Basil (absolute superstar)
- Cilantro (controversial, but amazing frozen)
- Parsley (both flat-leaf and curly)
- Oregano (holds up surprisingly well)
- Thyme (tiny but mighty)
- Rosemary (woodsy goodness preserved)
- Sage (perfect for savory dishes)
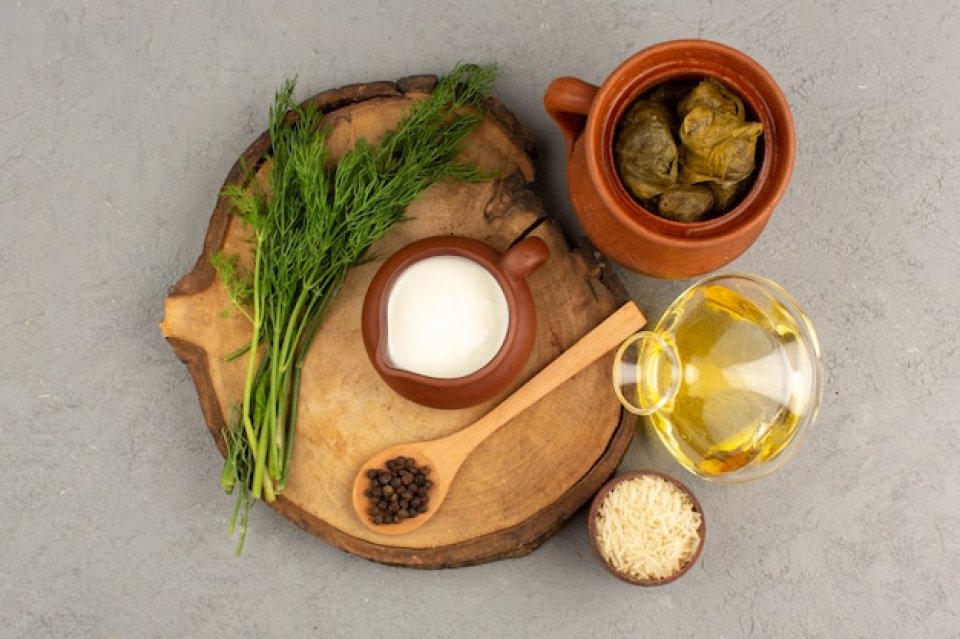
- Dill (great for fish dishes)
Skip these:
- Mint (gets weird and loses flavor)
- Tarragon (texture becomes odd)
- Chives (better frozen alone without oil)
Equipment Needed
You don’t need fancy equipment—just basic kitchen stuff. An ice cube tray is your MVP here. Silicone trays work better because you can pop the cubes out easily. Trust me, wrestling with a plastic tray at 6 AM isn’t fun 🙂
You’ll also need good olive oil. I’m not saying buy the $40 artisanal bottle, but don’t use the cheapest stuff either. Mid-range extra virgin olive oil works perfectly. The flavor matters since it’s going directly into your food.
Grab some freezer-safe bags or containers too. Once your cubes are frozen solid, you’ll transfer them for long-term storage. Label them—future you will thank present you.
The Simple Process
Step 1: Wash and Dry Your Herbs
This step is crucial, so don’t rush it. Fill a bowl with cold water and gently swish your herbs around. Dirt loves hiding in leafy herbs, especially cilantro and parsley.
Pat them dry with paper towels or use a salad spinner. They need to be really dry. Excess water dilutes the oil and can cause freezer burn. I learned this the hard way with a batch of soggy basil cubes.
Step 2: Prep Your Herbs
Remove the leaves from woody stems. For basil, cilantro, and parsley, you want just the leaves and tender stems. Hard stems add bitterness and weird texture—nobody wants that.
Chop your herbs roughly. You don’t need perfect knife skills here. Rough chops work fine since the herbs will break down when you cook them anyway. Plus, smaller pieces fit better in ice cube compartments.
Some people prefer leaving herbs whole, especially smaller ones like thyme. Honestly? Do what makes you happy. I usually chop because it fits better and releases more flavor into the oil.
Step 3: Fill Your Ice Cube Tray
Pack the herbs into each compartment, filling them about two-thirds full. Don’t overstuff—the oil needs room to cover everything. I usually get overeager and pack them too tight. Learn from my mistakes.
Use your fingers or a small spoon to press them down gently. You want them compact but not crushed into oblivion. The goal is fitting maximum herbs while still leaving space for oil.
Step 4: Add the Olive Oil
Pour olive oil over the herbs until they’re completely covered. Leave a tiny bit of space at the top because liquids expand when frozen. Science class wasn’t completely useless, after all.
Make sure no herb leaves are sticking up above the oil. Exposed leaves will get freezer burn and turn brown. Use a toothpick or skewer to push down any rebellious pieces.
Step 5: Freeze Until Solid
Pop your filled tray into the freezer. Let it freeze for at least 4-6 hours, though overnight is better. They need to be completely solid before you can transfer them.
Don’t stack anything on top of the tray while it’s freezing. You’ll end up with lopsided cubes or worse—spilled oil everywhere. I definitely haven’t done this multiple times…
Step 6: Transfer and Store
Once frozen solid, remove the cubes from the tray. Silicone trays make this easy—just twist and pop. Plastic trays might need a few seconds under warm water to release.
Transfer the cubes to labeled freezer bags. Squeeze out excess air before sealing. Write the herb type and date on the bag. FYI, you won’t remember what’s what after two weeks, no matter how confident you feel right now.
Stack the bags flat in your freezer for easy storage. They’ll last 3-6 months, though mine never make it that long. They’re too convenient not to use constantly.
Pro Tips for Next-Level Herb Cubes
Mix and Match Flavors
Who says you need single-herb cubes? Create custom blends for specific dishes. Italian blend (basil, oregano, thyme) works amazing for pasta sauces. Mediterranean mix (rosemary, thyme, oregano) elevates roasted vegetables like nobody’s business.
I keep single herbs for flexibility, but having a few blend options saves time. One cube adds instant complexity to whatever you’re cooking. Experimentation is half the fun here.
Size Matters
Standard ice cube trays make 1-2 tablespoon portions, perfect for most recipes. But mini trays create smaller portions for delicate dishes. Larger silicone molds work great if you cook for crowds.
Match your cube size to how you cook. I use standard cubes because they fit my typical recipe needs. Your mileage may vary depending on your cooking style.
Label Everything Clearly
Seriously, label your bags. Frozen cilantro and parsley look identical. So do thyme and oregano. You don’t want to add cilantro to your Italian sauce because you guessed wrong.
Use permanent markers or freezer labels that actually stick. Those cheap labels fall off faster than my New Year’s resolutions. Spend the extra dollar for quality ones.
Try Different Oils
Olive oil is classic, but other oils work too. Avocado oil has a higher smoke point for high-heat cooking. Coconut oil creates interesting flavor combinations with Thai basil or cilantro.
I stick with olive oil for most herbs. It’s versatile and the flavor pairs well with almost everything. But experimenting with oils can be fun if you’re feeling adventurous.
How to Actually Use Your Herb Cubes
Sautéing and Pan-Frying
This is where herb cubes really shine. Heat your pan, drop in a cube, and watch it sizzle. The oil melts, releases the herbs, and you’re instantly ready to add other ingredients.
Works perfectly for starting soups, sauces, or sautéed vegetables. The herbs bloom in the hot oil, releasing their essential oils and flavors. Your kitchen will smell incredible.
No need to thaw first. Straight from freezer to pan works beautifully. The frozen cube actually helps prevent burning since it cools the pan slightly as it melts.
Soups and Stews
Toss a cube or two directly into your pot. They melt quickly and distribute flavor throughout the dish. Add them toward the end of cooking for brighter flavor, or early for deeper integration.
I usually add one cube when I start cooking onions and garlic. Then another cube in the last 10 minutes for fresh herb brightness. This layered approach creates more complex flavors.
Roasting and Baking
Rub herb cubes over chicken, fish, or vegetables before roasting. As everything bakes, the oil bastes the food while the herbs crisp up slightly. The results are genuinely restaurant-quality.
Let the cubes come to room temperature first for easier spreading. Or just stick them in strategic spots on your protein and let heat do the work.
Pasta and Grain Dishes
Drop a cube into your pasta water during the last minute of cooking. Or toss hot pasta with a cube or two for instant herb-infused goodness. The residual heat melts everything perfectly.
Same concept works for rice, quinoa, or couscous. Add a cube right after draining or when fluffing. Simple but incredibly effective for elevating basic grains.
Common Mistakes to Avoid
Using Herbs That Are Already Wilting
Start with fresh, vibrant herbs. Freezing won’t resurrect sad, browning herbs—it just preserves their current state. Garbage in, garbage out, as they say :/
Buy or harvest herbs at their peak. Firm leaves, bright color, strong aroma—these are your indicators. If they’re already looking rough, skip the freezing and just use them immediately.
Not Drying Herbs Thoroughly
Water and oil don’t mix. Wet herbs create icy, separated cubes instead of smooth herb-infused oil. The texture gets grainy and they don’t work as well in cooking.
Take the extra five minutes to dry everything properly. Your future self will appreciate the effort when you’re using perfectly preserved herb cubes months later.
Overfilling the Compartments
Greedy herb packing leads to oil spillage and messy freezers. Leave room for the oil to completely cover everything. Two-thirds full is the sweet spot.
Think of it like filling a glass—you need space at the top. Same principle applies here. Restraint now saves cleanup later.
Forgetting to Label
This mistake comes back to haunt you every single time. You will not remember which herb is which. You will convince yourself you have a system and you will be wrong.
Label immediately while the info is fresh in your mind. Include the date too so you know how old they are. Organization isn’t sexy, but it prevents kitchen disasters.
Storage and Shelf Life
Properly stored herb cubes last 3-6 months in the freezer. After that, they’re still safe but lose flavor gradually. I try to use mine within four months for optimal taste.
Keep them in airtight bags or containers. Freezer burn is the enemy here. Squeeze out air, seal tightly, and stack them where they won’t get crushed by frozen pizza boxes.
Check them occasionally. If you see ice crystals forming or the color fading dramatically, use those cubes first. They’re not bad, just losing quality.
Beyond Basic Herbs: Getting Creative
Herb and Garlic Combinations
Chop garlic and mix it with herbs before adding oil. Now you’ve got complete flavor bases ready to go. Basil-garlic cubes for Italian dishes or cilantro-garlic for Mexican cooking work amazingly.
Add a touch of lemon zest to parsley cubes for brightness. Or mix in some red pepper flakes with oregano for spicy kick. The possibilities are endless once you start experimenting.
Citrus-Herb Blends
Add lemon or lime zest to your herb cubes for extra complexity. Lemon-thyme cubes elevate chicken dishes. Lime-cilantro cubes are perfect for tacos and fish.
Use a microplane to zest directly into the ice cube tray. Mix with herbs, add oil, and freeze. These cubes add restaurant-quality flavor with zero extra effort.
Herb Butters in Ice Cube Form
Swap olive oil for melted butter to create herb butter cubes. They’re incredible melted over steak, stirred into mashed potatoes, or spread on warm bread.
Use unsalted butter so you control the salt level. Mix in your herbs, pour into trays, and freeze. Same storage method applies—transfer to bags once solid.
The Economic Angle
Let’s talk money for a second. Fresh herbs are stupidly expensive for tiny bunches. You use a tablespoon and watch $3.99 worth of basil turn to slime. That adds up fast.
Freezing herbs means buying in bulk when they’re cheap or harvesting from your garden. One large bunch makes 15-20 cubes, each equivalent to buying fresh herbs multiple times over.
IMO, this might be the most underrated money-saving kitchen hack. You’re not wasting food, you’re reducing grocery trips, and you’re eating better meals. Win-win-win situation.
FAQs
Q: Can I freeze herbs without oil?
Yes, but they won’t last as long or maintain quality as well. The oil preserves flavor and prevents freezer burn. Water works, but creates icy cubes that add unwanted liquid to dishes. Oil is definitely superior for most cooking applications.
Q: Do frozen herb cubes taste as good as fresh herbs?
They’re not identical, but they’re surprisingly close. You lose a tiny bit of the bright, grassy quality, but the main flavor remains strong. For cooked dishes, the difference is minimal. For raw applications like garnishes, fresh is still better.
Q: Can I use these cubes for smoothies or drinks?
Honestly? Skip it for drinks. The olive oil doesn’t blend well in cold beverages. Freeze herbs in water if you want them for smoothies or cocktails. Save the oil cubes for cooking where the fat actually enhances the dish.
Q: What’s the best oil-to-herb ratio?
Aim for roughly two-thirds herbs to one-third oil by volume. You want enough oil to cover everything completely but not so much that you’re just getting oily cubes. The herbs should be the star—oil is the supporting actor here.
Q: My herbs turned brown in the freezer. Are they still safe?
Brown herbs are safe but have oxidized, meaning they’ve lost flavor. Usually happens when herbs aren’t fully covered in oil or bags weren’t sealed properly. Use them up quickly and improve your technique for the next batch. They won’t make you sick, just won’t taste as good.
Final Thoughts
Freezing fresh herbs in olive oil transforms your cooking game completely. No more guilt about wasted herbs. No more emergency grocery runs because a recipe needs fresh basil. Just grab a cube and get cooking.
Start small if you’re skeptical. Freeze one bunch of your favorite herb and see how you like it. I guarantee you’ll wonder why you didn’t start doing this years ago.
Your future cooking self will literally thank you. Trust me on this one 🙂