
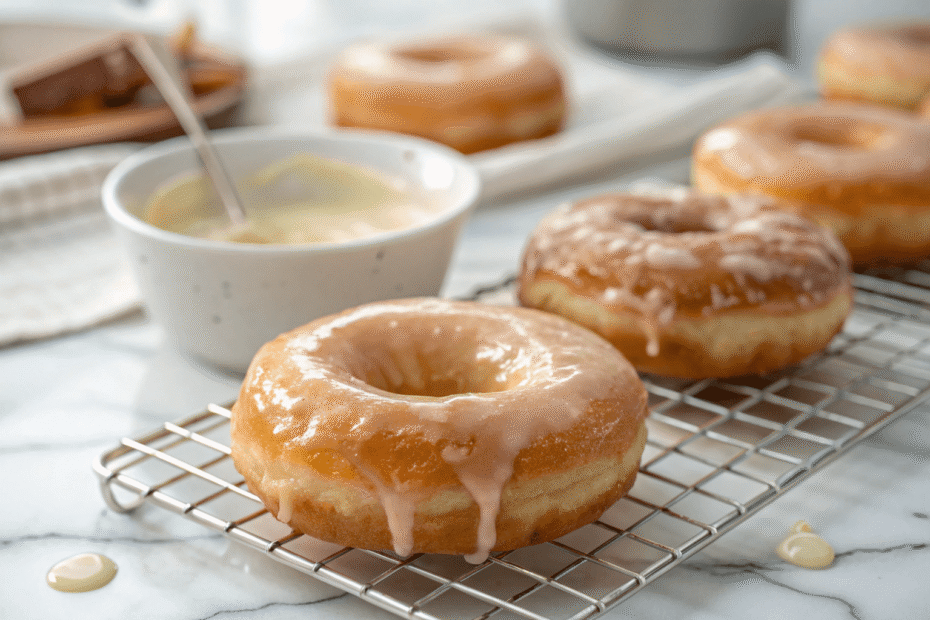
Ever bitten into a perfectly glazed donut and thought, “I need this in my life daily”? Yeah, me too. That’s exactly why I started making these at home. No more waiting in line at the bakery or settling for stale ones from the grocery store.
Making glazed donuts isn’t rocket science. Sure, they look fancy, but honestly? They’re way easier than you’d think. And the best part? Your whole house smells like a professional bakery for hours.
Servings: 12 donuts
Prep Time: 20 minutes
Rising Time: 1.5 hours
Cook Time: 10 minutes
Total Time: 2 hours
Why Homemade Beats Store-Bought Every Single Time
Here’s the thing about store-bought donuts—they’re fine. But homemade? They’re on another level entirely. The texture is lighter, fluffier, and somehow tastes like actual clouds decided to become edible.
Plus, you control what goes in them. No weird preservatives or ingredients you can’t pronounce. Just simple, delicious stuff that makes your taste buds do a happy dance.
The glaze? It’s literally three ingredients. I’m not even joking. If you can stir things in a bowl, you’ve got this covered.
The Ingredients You’ll Actually Need
Let’s talk about what you need for the doughnut recipe easy version. Nothing fancy, nothing you’ll struggle to find at your local grocery store.
For the Donuts:
- 2 ¼ teaspoons active dry yeast (one packet)
- ¼ cup warm water (110°F)
- ¾ cup warm milk
- ¼ cup granulated sugar
- 1 teaspoon salt
- 1 large egg
- ¼ cup unsalted butter (melted)
- 3 ½ cups all-purpose flour
- Vegetable oil for frying
For the Glaze:
- 2 cups powdered sugar
- ¼ cup milk
- 1 teaspoon vanilla extract
See? Nothing crazy. You probably have most of this stuff already. The ingredient list isn’t trying to send you on a treasure hunt through specialty stores.
Getting Your Dough Ready (The Fun Part Starts Here)
First things first—activate that yeast. Mix it with warm water and let it sit for about five minutes. It should get foamy and bubbly. If it doesn’t? Your yeast might be dead, and you’ll need fresh stuff.
In a large bowl, combine the warm milk, sugar, salt, egg, and melted butter. Mix it all together until everything’s well incorporated. No lumps allowed here.
Add your foamy yeast mixture to the bowl. Stir it in gently. You’re basically introducing these ingredients to each other like they’re at a party.
Now comes the flour. Add it gradually—about one cup at a time. Mix after each addition until you’ve got a soft dough that’s slightly sticky but manageable.
Turn that dough onto a floured surface. Time to knead! Push it away from you, fold it back, turn it a quarter turn. Repeat this for about 5-7 minutes. Your arms might protest, but trust me, it’s worth it.
The dough should become smooth and elastic. When you poke it, it should bounce back slowly. That’s how you know it’s ready for its beauty sleep.
The Waiting Game (Patience Is Key, Unfortunately)
Place your dough in a greased bowl. Cover it with a clean kitchen towel or plastic wrap. Let it rise in a warm spot for about an hour. It should double in size.
This is the hardest part, IMO. Just sitting there, waiting, knowing delicious donuts are in your future but not quite there yet. Maybe scroll through some glazed donut aesthetic pics on Pinterest to pass the time 🙂
Once it’s doubled, punch it down. Literally just punch it. It’s oddly satisfying and releases all that built-up gas. Very therapeutic, actually.
Shaping Your Future Donuts
Roll out your dough on a floured surface until it’s about ½ inch thick. Not too thin, not too thick—Goldilocks would approve.
Grab a donut cutter or use two round cutters (one large, one small). Cut out your donuts and donut holes. Don’t waste those scraps! Re-roll and cut more.
Place your cut donuts on a parchment-lined baking sheet. Cover them again and let them rise for another 30-45 minutes. They’ll puff up nicely during this time.
The Frying Process (Where Magic Happens)
Heat about 2-3 inches of vegetable oil in a heavy-bottomed pot to 375°F. Use a thermometer—guessing won’t cut it here. Too hot and they’ll burn outside while staying raw inside. Too cool and they’ll absorb oil like sponges.
Gently slide 2-3 donuts into the hot oil. Don’t overcrowd them or the temperature will drop. They need their personal space, you know?
Fry for about 1 minute per side. They should turn a beautiful golden brown color. Watch them carefully because they go from perfect to burnt faster than you’d think.
Use a slotted spoon to remove them. Place them on a wire rack over paper towels. This lets excess oil drip off while keeping them crispy.
Let them cool for just a few minutes before glazing. If they’re too hot, the glaze will just slide right off. Not hot enough? The glaze won’t set properly.
Creating That Perfect Doughnut Glaze Recipe
While your donuts are cooling slightly, whisk together the powdered sugar, milk, and vanilla extract. The consistency should be thick but pourable—like really good honey.
Too thick? Add a tiny bit more milk. Too thin? Add more powdered sugar. You’re going for that perfect coating texture that clings to the donut but still drips beautifully.
This basic glaze is your blank canvas. Want chocolate? Add cocoa powder. Maple? Swap vanilla for maple extract. The possibilities are endless, really.
The Glazing Technique That Actually Works
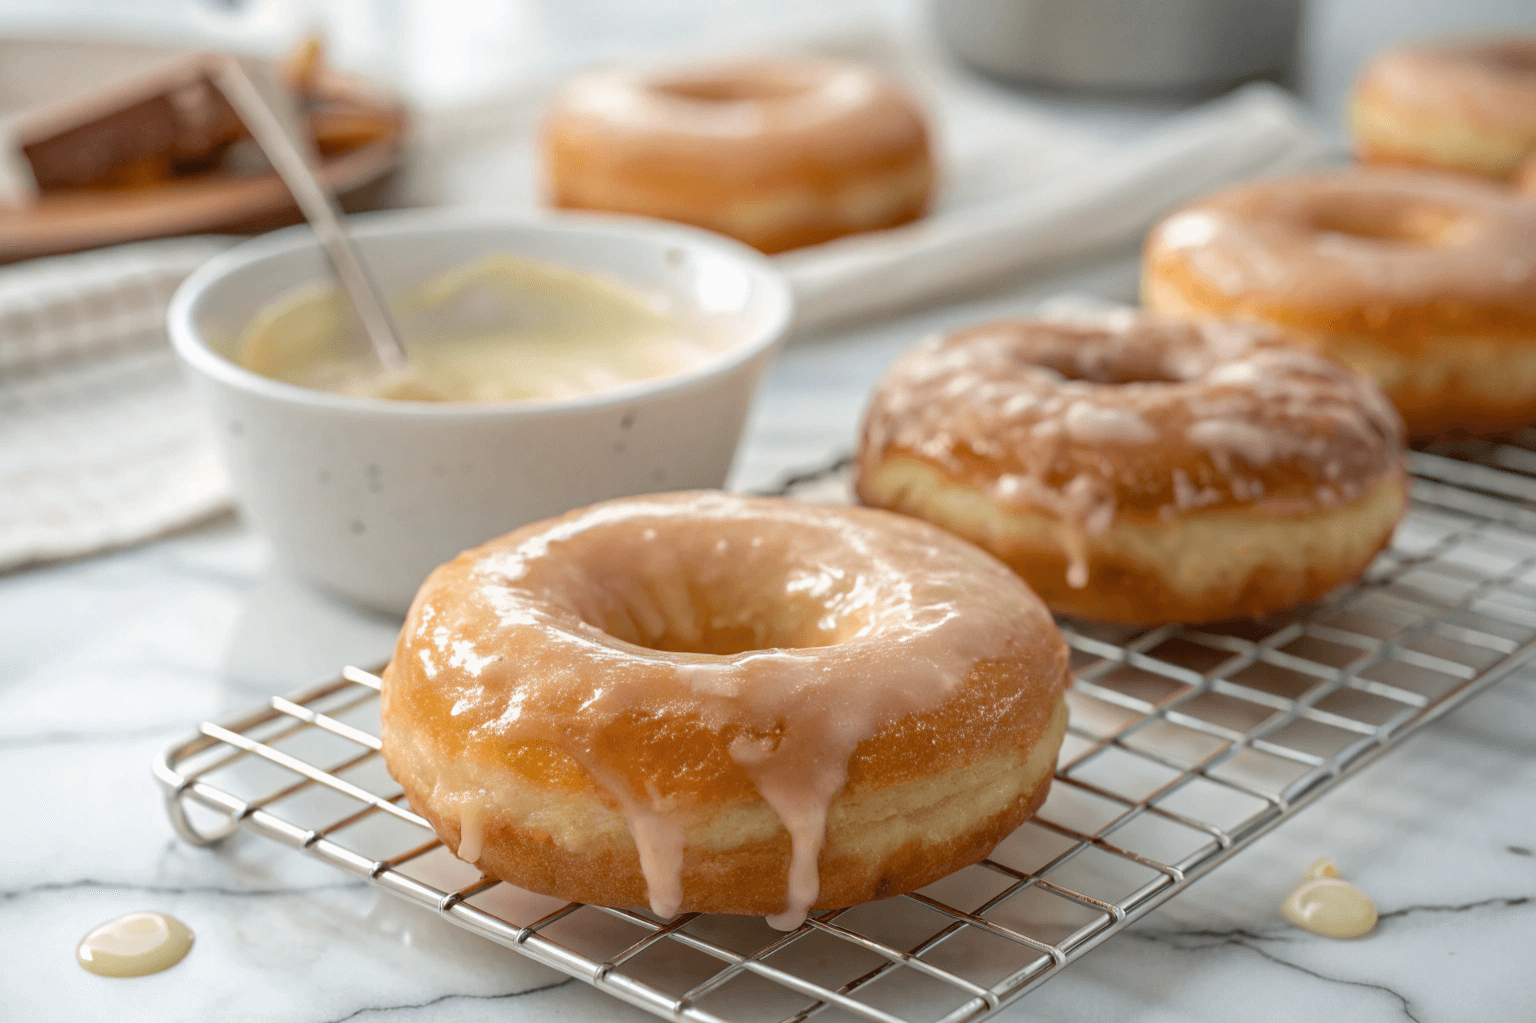
Dip each donut top-down into the glaze. Give it a little swirl to coat it evenly. Lift it out and let the excess drip back into the bowl.
Place the glazed donut back on the wire rack. The glaze will set as it cools, creating that signature shiny, slightly crackly coating we all love.
FYI, eating one while the glaze is still warm and melty? Completely acceptable. In fact, I’d argue it’s mandatory quality control.
Taking Your Glazed Donuts to the Next Level
Once you’ve mastered the basic recipe, you can get creative. Try adding donut toppings like sprinkles, crushed cookies, or chopped nuts while the glaze is still wet.
Want fancy donuts? Drizzle melted chocolate over the glaze. Add edible flowers. Go wild with different colored glazes. Make them Instagram-worthy if that’s your thing.
Mini donuts ideas are also super fun. Use smaller cutters and reduce the frying time. They’re perfect for parties or when you want variety without committing to full-sized donuts.
Cute donuts happen when you use fun toppings creatively. Think rainbow sprinkles, crushed freeze-dried strawberries, or even edible glitter. Your inner child will thank you.
Common Mistakes (And How I Learned From Them)
My first batch? Total disaster. The oil wasn’t hot enough, and they turned into greasy hockey pucks. Learn from my pain—use that thermometer.
I’ve also over-kneaded dough before. It makes tough, chewy donuts instead of light, fluffy ones. Knead just until the dough is smooth and elastic, then stop.
Another rookie mistake? Not letting them rise enough. Impatient donuts are dense donuts. Give them the full rising time they deserve.
And please, don’t skip the warm water temperature check for the yeast. Too hot kills it, too cold won’t activate it. Goldilocks principle applies here too.
Storing Your Homemade Treasures
Fresh donuts are obviously the best. But leftovers (if you have any) can be stored in an airtight container at room temperature for 1-2 days.
The glaze might lose some shine, but they’ll still taste great. You can refresh them slightly by popping them in the microwave for 10 seconds.
Freezing works too. Place unglazed donuts in freezer bags for up to two months. Thaw, warm them up, then glaze fresh. Problem solved.
Why This Recipe Wins
This doughnut recipe easy version doesn’t require any special equipment beyond what most kitchens already have. No fancy mixers, no mysterious tools.
The sugar donut base is versatile enough to experiment with. Change up the glaze flavors, try different toppings, make them your own.
And honestly? The satisfaction of pulling off homemade glazed donuts is unmatched. You’ll feel like a baking champion, because you basically are.
Frequently Asked Questions
Can I bake these instead of frying them?
You can, but they won’t have that classic donut texture. Baked donuts are more cake-like. If you want authentic donuts aesthetic, frying is the way to go.
Why did my donuts turn out dense?
Usually this means the dough didn’t rise enough, or you added too much flour. Make sure your yeast is active and measure flour correctly—spoon it into the measuring cup, don’t pack it.
Can I make the dough the night before?
Absolutely! After the first rise, punch it down and refrigerate it overnight. Let it come to room temperature before rolling and cutting the next day.
What’s the best oil for frying?
Vegetable oil, canola oil, or peanut oil all work great. They have high smoke points and neutral flavors. Avoid olive oil—it’s too flavorful and has a low smoke point.
How do I know when the oil is the right temperature?
Use a thermometer! But if you don’t have one, drop a small piece of dough in. If it sizzles immediately and rises to the surface, you’re good to go.
Simple Glazed Donut Recipe Anyone Can Master
12
Donuts2
hoursHomemade glazed donuts with a pillowy soft texture and sweet vanilla glaze. Simple ingredients create bakery-quality results. Perfect for breakfast treats or dessert. The dough requires rising time but hands-on work is minimal. Frying creates authentic texture and flavor that baked versions can’t match.
Ingredients
-
Active dry yeast (2¼ tsp)
-
Warm water (¼ cup)
-
Warm milk (¾ cup)
-
Granulated sugar (¼ cup)
-
Salt (1 tsp)
-
Egg (1 large)
-
Unsalted butter (¼ cup, melted)
-
All-purpose flour (3½ cups)
-
Vegetable oil (for frying)
-
Powdered sugar (2 cups)
-
Milk for glaze (¼ cup)
-
Vanilla extract (1 tsp)
How To Make
- Activate yeast in warm water
- Mix wet ingredients together
- Add yeast mixture and flour
- Knead dough for 5-7 minutes
- Let rise for one hour
- Roll dough to ½ inch thickness
- Cut donut shapes
- Second rise for 30-45 minutes
- Heat oil to 375°F
- Fry donuts until golden
- Drain on wire rack
- Mix glaze ingredients
- Dip warm donuts in glaze
- Let glaze set completely
Final Thoughts on Your Donut Journey
Making glazed donuts at home isn’t just about the end result. It’s about the process, the smell, the satisfaction of creating something delicious from scratch.
Will your first batch be perfect? Maybe not. Mine definitely wasn’t. But that’s part of the fun—learning, adjusting, improving with each attempt.
So grab your ingredients, put on some good music, and get ready to make your kitchen smell incredible. Your taste buds are about to thank you big time.