
Let me tell you a secret: I used to buy granola from the store every week, thinking it was healthy. Then one morning, I opened a bag and found a list of ingredients longer than my to-do list. That’s when I decided to take matters into my own hands. I made my first batch of homemade granola, and let me tell you — it was a game-changer. Not only was it way better tasting, but I could actually pronounce everything in it. Plus, it smelled like a cozy cabin in the woods while baking. If you’ve ever wondered how to make granola at home, you’re in the right place. This recipe is simple, customizable, and guaranteed to become your new breakfast obsession.

📋 Quick Recipe Overview
Nutrition Facts (per serving)
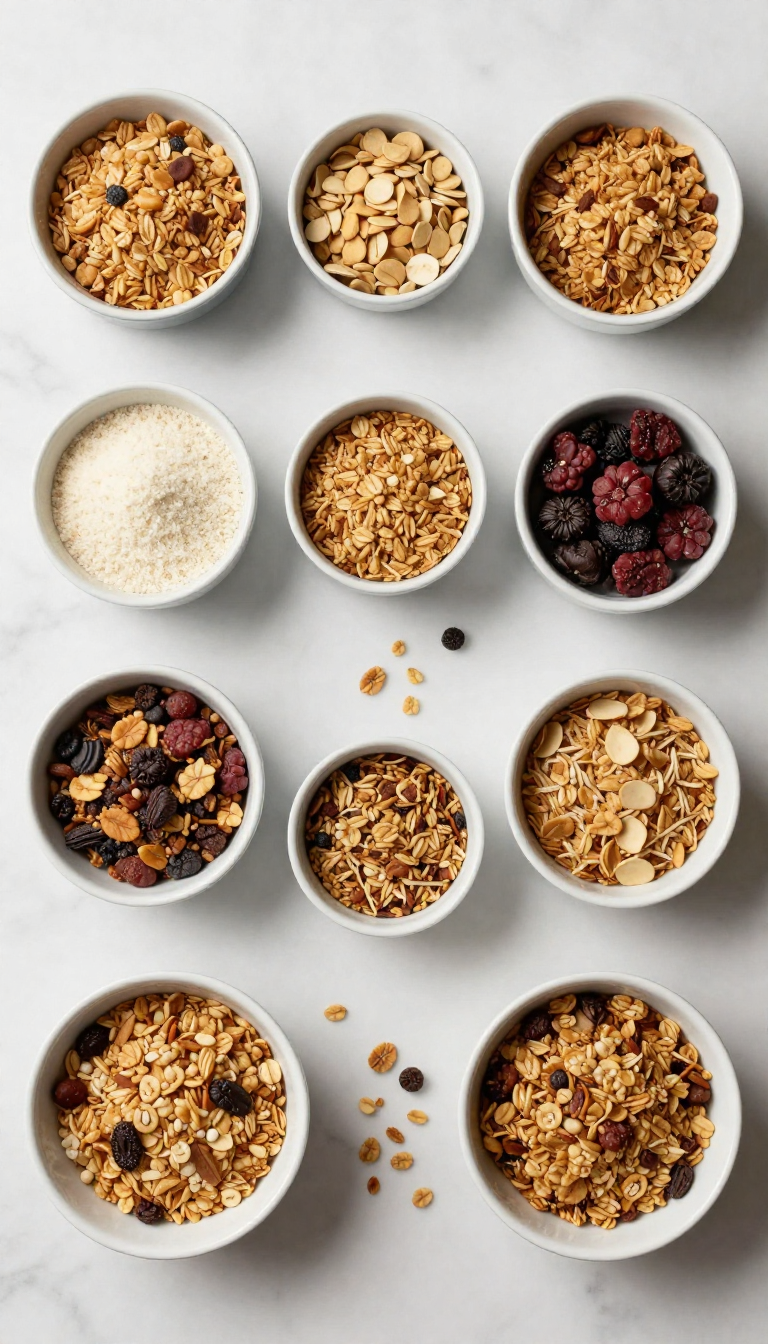
Ingredients
Quick Steps
- 1. Preheat oven to 300°F
- 2. Mix oats, nuts, seeds, and coconut
- 3. Whisk honey, oil, vanilla, cinnamon, salt
- 4. Pour wet mix over dry, stir well
- 5. Spread on baking sheet, bake 30 mins
- 6. Cool completely, add dried fruit and chocolate
- 7. Store in airtight container
Why You’ll Love This Granola Recipe
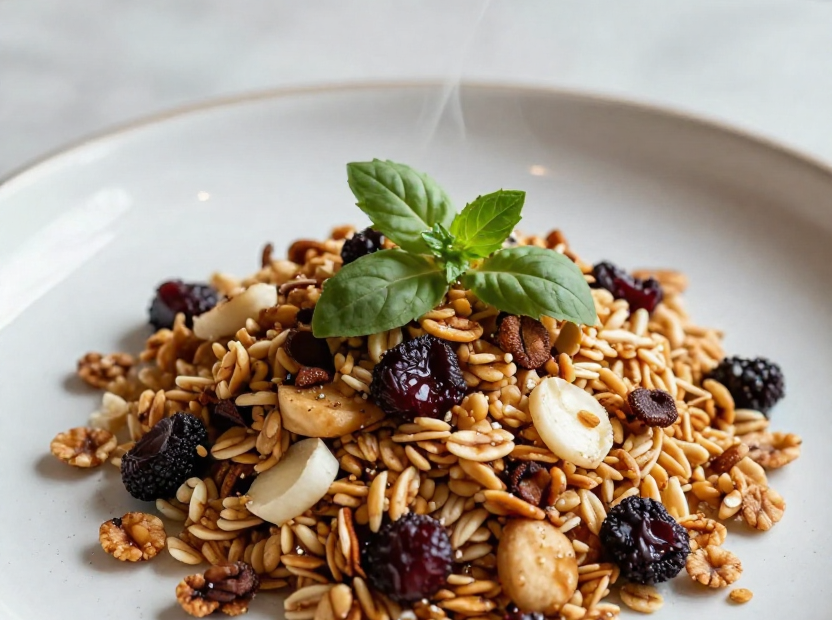
There’s something magical about the moment you open the oven and that warm, nutty, cinnamon-scented aroma hits you. It’s like a hug for your nose. This granola is crunchy, sweet, and just a little bit chewy — the perfect balance. It’s also incredibly versatile. I’ve eaten it with yogurt, milk, in smoothie bowls, and even straight out of the jar (don’t judge — it’s delicious).
What makes this recipe special? First, it’s made with real, whole ingredients. No artificial flavors or preservatives. Second, it’s easy to tweak. Want more chocolate? Add it. Prefer less sweetness? Cut the honey. Need it nut-free? Swap in pumpkin seeds. The possibilities are endless.
What You’ll Need
Before we dive into the steps, let’s talk ingredients. You’ll want to gather everything ahead of time — trust me, you don’t want to be hunting for cinnamon halfway through mixing.
Core Ingredients
- 3 cups old-fashioned rolled oats — not quick oats, please. They give the best texture.
- 1 cup raw almonds — chopped or whole, your choice. I like to chop mine for even distribution.
- 1/2 cup raw sunflower seeds — adds a nice crunch and healthy fats.
- 1/2 cup unsweetened shredded coconut — optional, but it gives that tropical vibe.
- 1/2 cup honey — the sweetener of choice. You can sub maple syrup if you prefer.
- 1/4 cup coconut oil — melted. It helps bind everything together and adds richness.
- 1 tsp vanilla extract — because everything tastes better with vanilla.
- 1 tsp ground cinnamon — warm and cozy. Feel free to add more if you’re a spice lover.
- 1/4 tsp salt — balances the sweetness and enhances flavor.
- 1/2 cup dried cranberries — for a pop of tart sweetness.
- 1/4 cup chopped dark chocolate — for a little indulgence. Save this for after baking.
Pro tip: I always use a glass measuring cup to melt the coconut oil and honey together. It’s easier to pour and less messy than using a saucepan.
Step-by-Step Instructions
Ready to make your own granola? Let’s go. This recipe takes about 40 minutes total, with 30 minutes of hands-off baking time. Perfect for a lazy weekend morning or a weekday prep session.
- Preheat your oven to 300°F (150°C). Line a large baking sheet with parchment paper. Trust me, you’ll thank me later when cleanup is a breeze.
- In a big bowl, combine the oats, almonds, sunflower seeds, and shredded coconut. Give it a good stir to mix everything evenly.
- In a separate bowl or measuring cup, whisk together the honey, melted coconut oil, vanilla extract, cinnamon, and salt until smooth. You’ll smell the cinnamon — it’s heavenly.
- Pour the wet mixture over the dry ingredients. Use a spatula to stir until everything is evenly coated. You’ll see the oats start to glisten — that’s a good sign.
- Spread the mixture evenly on the prepared baking sheet. Use your hands or a spatula to flatten it into an even layer. This helps it bake evenly and form those delicious clusters.
- Bake for 30 minutes, stirring halfway through. You’ll notice it turning golden brown and smelling absolutely amazing. Keep an eye on it in the last 5 minutes — it can go from perfect to burnt in no time.
- Remove from the oven and let it cool completely on the baking sheet. This is crucial — don’t skip it. Cooling allows the granola to crisp up and form those irresistible clusters.
- Once cooled, stir in the dried cranberries and chopped dark chocolate. If you add them too early, they’ll melt and turn into a sticky mess.
- Transfer to an airtight container. Store at room temperature for up to 2 weeks. I’ve been known to eat it straight from the jar — no shame.
Tips for Success
Even the best recipes can go sideways if you’re not careful. Here are my top tips to make sure your granola turns out perfect every time.
- Don’t overbake. Granola should be golden, not dark brown. Overbaking leads to bitterness.
- Stir halfway. This ensures even browning and prevents burning on the edges.
- Let it cool completely. This is non-negotiable. The granola will crisp up as it cools. If you’re impatient, you’ll end up with soft granola.
- Use parchment paper. It prevents sticking and makes cleanup a breeze.
- Customize freely. Swap in pumpkin seeds, add chia seeds, or use different dried fruits. Make it your own.
One insider secret: I like to let the granola cool on the baking sheet for 10 minutes, then break it into chunks with my hands before transferring. It helps form bigger clusters, which I love for my yogurt bowls.
Common Mistakes to Avoid
Even experienced cooks make mistakes. Here are the top ones I see (and have made myself).
- Using quick oats. They turn mushy and don’t crisp up. Stick with old-fashioned rolled oats.
- Adding dried fruit too early. It’ll melt and make your granola sticky. Always add after baking.
- Not stirring halfway. You’ll end up with unevenly browned granola — some parts will be undercooked, others burnt.
- Opening the oven too often. Every time you open the door, you lose heat. Bake uninterrupted for 30 minutes.
- Storing while warm. Moisture from warm granola will make it soggy. Always cool completely before storing.
Pro tip: If your granola turns out too soft, you can pop it back in the oven at 275°F for 5-10 minutes to crisp it up. Just keep a close eye on it.
FAQ: Your Granola Questions Answered
Here are the questions I get asked most often about this recipe. I’ve answered them in detail so you don’t have to guess.
Can I make this recipe gluten-free?
Absolutely. Just make sure to use certified gluten-free rolled oats. Regular oats are often processed with wheat, so check the label. The rest of the ingredients are naturally gluten-free. I’ve made this with gluten-free oats countless times — no difference in taste or texture.
Can I use maple syrup instead of honey?
Yes! Maple syrup works perfectly. It adds a slightly different flavor — more earthy and less floral than honey. Use the same amount (1/2 cup). Just be aware that maple syrup is a bit thinner, so your mixture might be slightly runnier. That’s okay — it still bakes up beautifully.
How long does homemade granola last?
Stored in an airtight container at room temperature, it lasts up to 2 weeks. If you want to extend its shelf life, you can store it in the fridge for up to 4 weeks or in the freezer for 3 months. Just let it come to room temperature before serving to avoid moisture buildup.
Why isn’t my granola forming clusters?
There are a few reasons. First, you might not have let it cool completely. Clusters form as the granola cools and the oils solidify. Second, your mixture might have been too dry. Make sure the wet ingredients fully coat the dry ingredients. Third, you might have stirred too much after baking — let it set undisturbed for 10-15 minutes before breaking it apart.
Can I make this recipe vegan?
Yes! Just use maple syrup instead of honey. All other ingredients are already vegan. Coconut oil, oats, nuts, seeds — all plant-based. This recipe is naturally vegan with that one swap.
Final Thoughts
Making granola at home is one of those small kitchen wins that makes you feel like a rockstar. It’s satisfying, delicious, and way better than anything you’ll find in a store. Plus, you control the sugar, nuts, and add-ins — no hidden junk.
I remember the first time I made this recipe for my kids. They ate it straight from the jar like it was candy. Now, they beg me to make it every week. It’s become our go-to breakfast, snack, and even dessert.
If you’ve never made granola before, don’t be intimidated. It’s simple, forgiving, and endlessly customizable. You can make it sweet, savory, chocolatey, fruity — whatever you crave. Just follow the steps, let it cool, and enjoy.
So go ahead — preheat that oven, gather your ingredients, and make a batch. Your taste buds will thank you. And if you’re feeling adventurous, try adding a sprinkle of sea salt on top before serving. Trust me, it’s life-changing.