
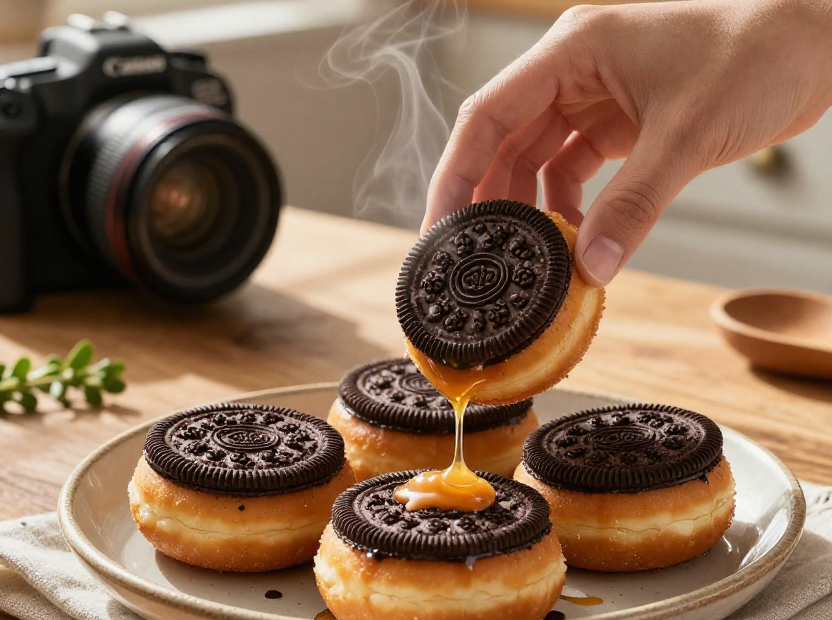
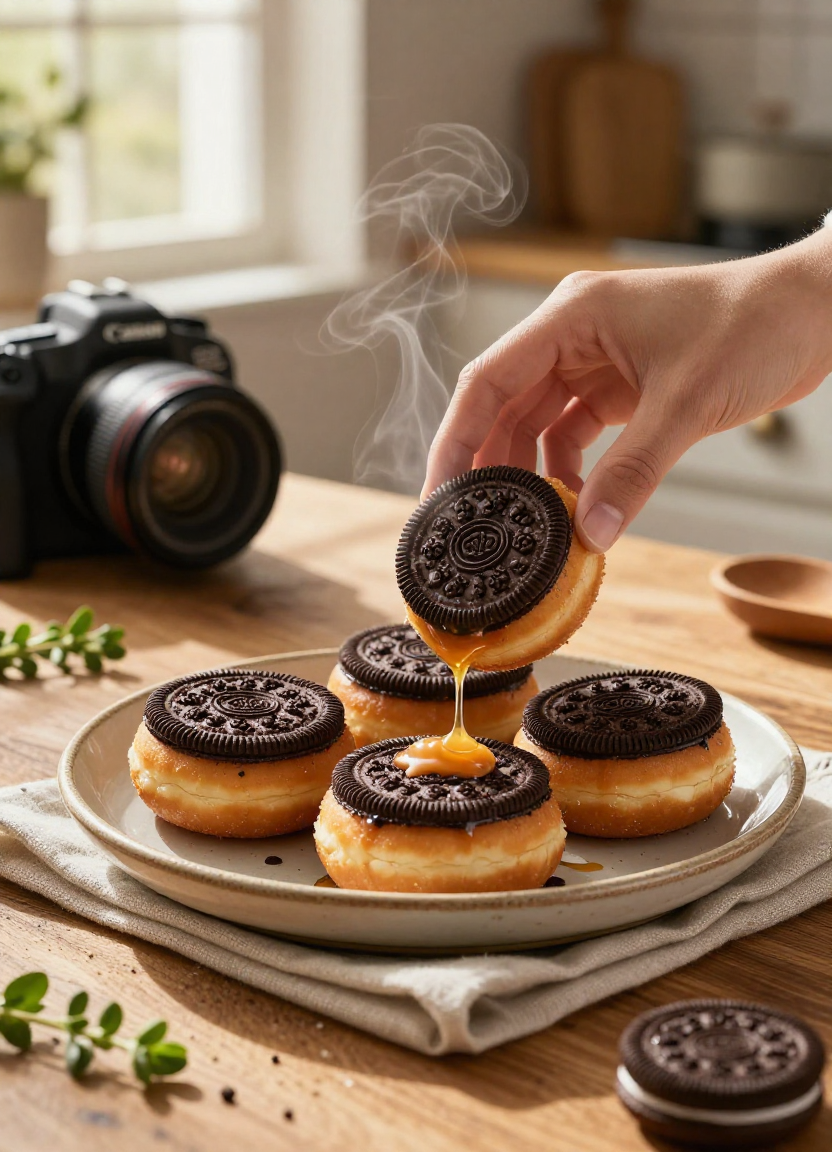
Remember that time you walked into a bakery and saw a display of Oreo donuts glistening under the lights? I do. I stood there, frozen, like a kid in a candy store, wondering if I should go for the chocolate cake or the Oreo one. Spoiler: I went for the Oreo. And now, I’m sharing that magic with you.
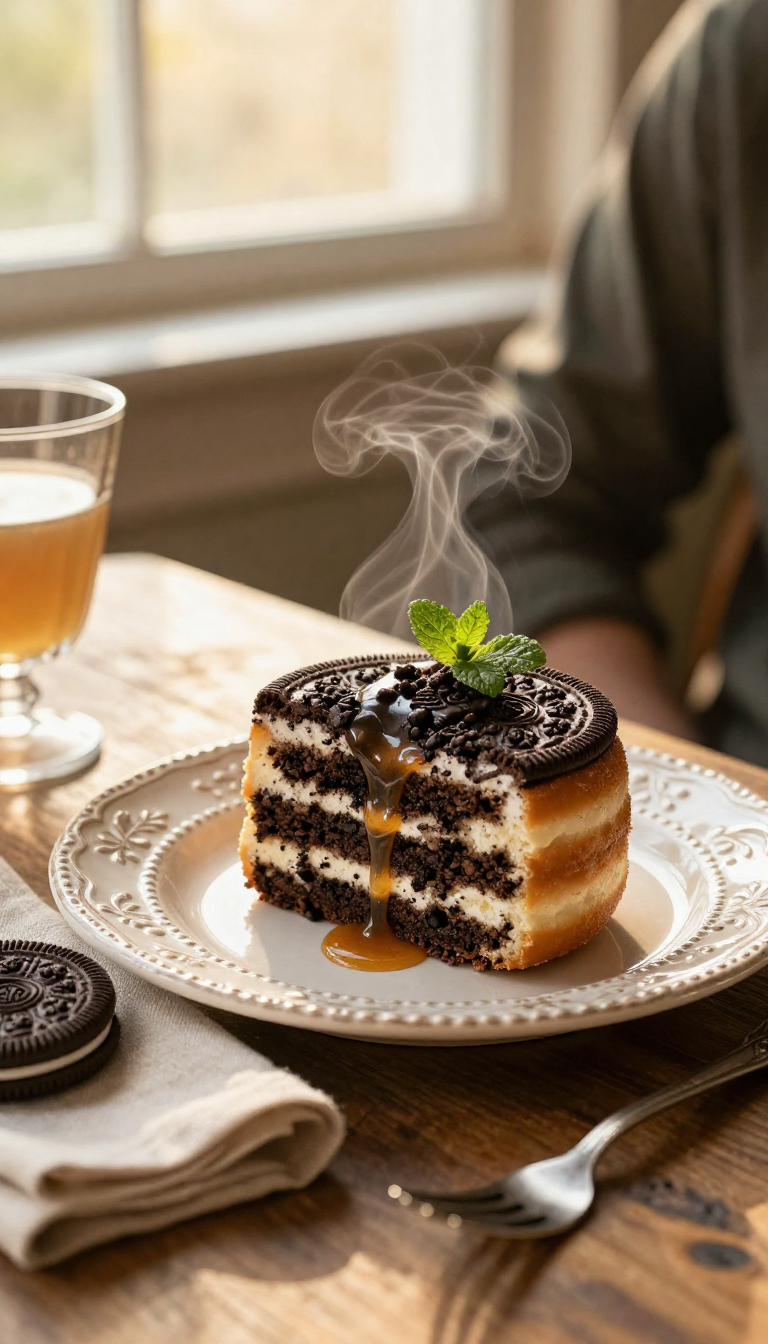
These Oreo donuts are not your average bakery treat. They’re soft, fluffy, and packed with a creamy Oreo center that bursts with every bite. The glaze adds a sweet, silky finish, and the crushed cookie topping? Pure decadence. Best of all, you can make them at home in under 40 minutes. No frying, no mess, just pure, sweet joy.
Why You’ll Love This Oreo Donuts Recipe
Let’s be honest — store-bought donuts are great, but they’re often loaded with preservatives and artificial flavors. Making them at home lets you control the ingredients, and honestly, they taste better. These donuts are baked, not fried, which makes them a little lighter without sacrificing any of the flavor.
Plus, they’re surprisingly easy. You don’t need fancy equipment — just a donut pan, a mixing bowl, and a little patience. And the best part? You can customize them. Want more chocolate? Add a few extra Oreo crumbs. Want them less sweet? Cut back on the glaze. It’s your kitchen, your rules.
What You’ll Need
Donut Batter
- 2 cups all-purpose flour
- 1/2 cup granulated sugar
- 1 teaspoon baking powder
- 1/4 teaspoon salt
- 3/4 cup milk
- 1/4 cup vegetable oil
- 1 teaspoon vanilla extract
- 1 large egg
Oreo Filling
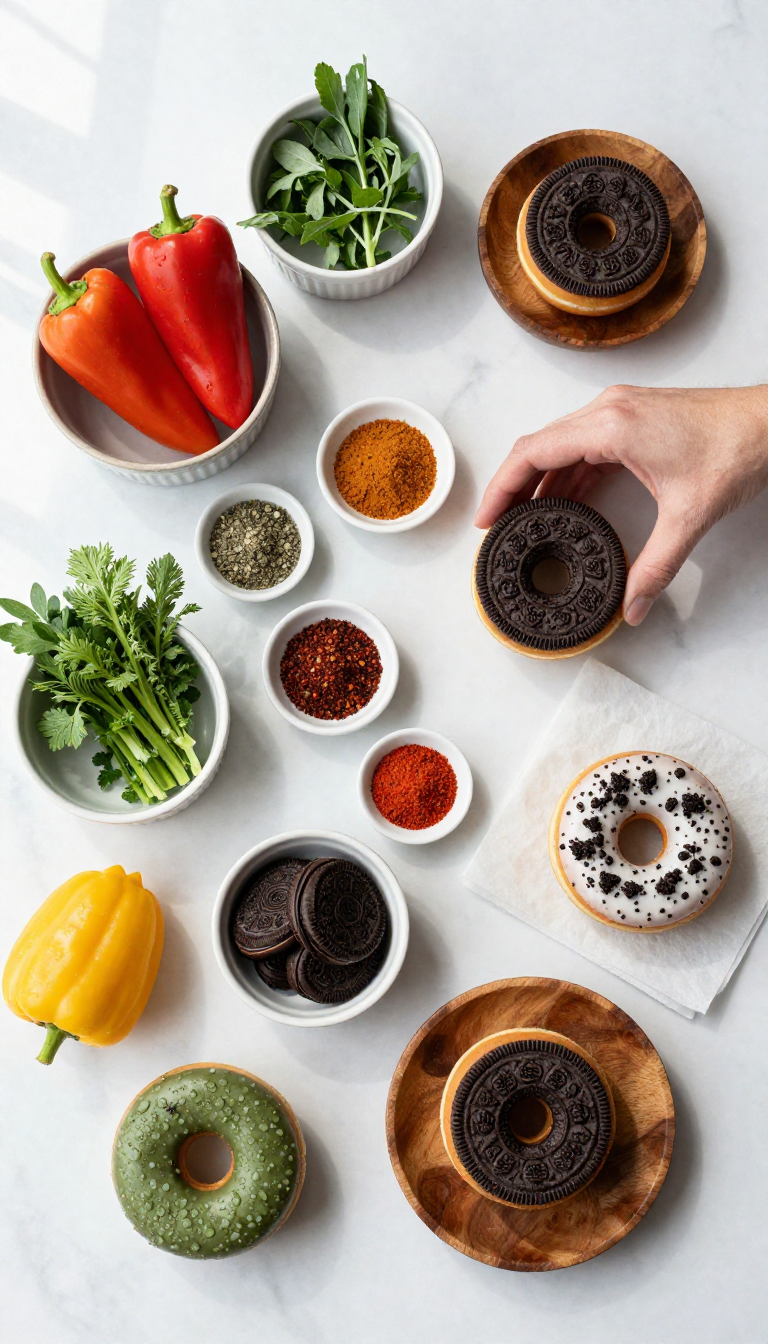
- 12 Oreo cookies
- 1/4 cup butter, softened
Glaze
- 1 cup powdered sugar
- 2-3 tablespoons milk
- 1/2 teaspoon vanilla extract
Toppings
- 1/2 cup crushed Oreo cookies
Most of these ingredients are pantry staples. If you don’t have vegetable oil, you can sub in canola or melted coconut oil. And if you’re feeling fancy, use heavy cream in the glaze for a richer finish.
How to Make Oreo Donuts Step by Step
Let’s get into the fun part — baking! I promise, this is where the magic happens.
- Preheat your oven to 350°F (175°C). Grease a donut pan with non-stick spray or butter. Trust me, you don’t want your donuts sticking.
- In a large bowl, whisk together the flour, sugar, baking powder, and salt. This creates a dry base that’ll give your donuts structure.
- In a separate bowl, mix the milk, vegetable oil, vanilla extract, and egg until smooth. The egg adds richness and helps bind everything together.
- Pour the wet ingredients into the dry ingredients and stir until just combined. Don’t overmix — a few lumps are totally fine. Overmixing leads to tough donuts, and we want them soft and tender.
- Scoop the batter into the donut pan, filling each mold about 3/4 full. A spoon or small ice cream scoop works great here.
- Bake for 12-15 minutes, or until a toothpick inserted into the center comes out clean. The edges should be golden, and they’ll spring back when lightly touched.
- Let the donuts cool in the pan for 5 minutes, then transfer them to a wire rack to cool completely. This is important — if you try to fill them while they’re hot, the filling will melt and run out.
- While the donuts cool, make the Oreo filling. Crush 12 Oreos into fine crumbs using a food processor or a rolling pin. If you don’t have a food processor, put them in a zip-top bag and roll over them with a rolling pin — it’s oddly satisfying.
- In a small bowl, mix the crushed Oreos with softened butter until smooth and creamy. This is your dreamy, chocolatey filling.
- Use a small knife or a piping bag to make a hole in the center of each donut. Fill them with the Oreo cream. I like to use a small plastic bag with the corner snipped off — it’s mess-free and gives you control.
- Make the glaze by mixing powdered sugar, 2 tablespoons milk, and vanilla extract. Stir until smooth. If it’s too thick, add a bit more milk. If it’s too thin, add more powdered sugar. You want a drizzleable consistency.
- Drizzle the glaze over the filled donuts, then immediately sprinkle with crushed Oreo cookies. The glaze should set within 10-15 minutes, holding the crumbs in place.
- Let them sit for a few minutes before serving. Serve warm or at room temperature — both are delicious.
Tips for Success
Here are a few insider secrets to make your Oreo donuts absolutely perfect:
- Don’t overmix the batter — Overmixing develops gluten, which makes donuts dense and chewy. We want them light and fluffy, so stir just until combined.
- Let the donuts cool completely before filling. If they’re still warm, the filling will melt and ooze out. Patience is key!
- Use room temperature butter for the filling. Cold butter won’t mix smoothly, and you’ll end up with lumps.
- Adjust the glaze thickness to your liking. Thicker glaze gives more coverage; thinner glaze is more delicate. I like mine somewhere in the middle.
- Store leftovers properly — Keep them in an airtight container at room temperature for up to 2 days. They’re best the day they’re made, but they still taste amazing the next day.
Common Mistakes to Avoid
Even the best bakers make mistakes. Here’s what to watch out for:
- Overfilling the donut pan — Fill each mold only 3/4 full. Overfilling causes the batter to spill over during baking, leading to messy, misshapen donuts.
- Using too much milk in the glaze — Start with 2 tablespoons and add more only if needed. Too much milk makes the glaze runny and won’t set properly.
- Skipping the cooling step — Filling warm donuts causes the Oreo cream to melt. Always let them cool completely.
- Not greasing the pan enough — Even a little sticking can ruin your donuts. Take the extra minute to coat every crevice.
FAQs
Can I make these donuts gluten-free?
Yes! Substitute the all-purpose flour with a 1:1 gluten-free baking blend. Make sure it contains xanthan gum, or add 1/4 teaspoon to the dry ingredients. The texture will be slightly different but still delicious.
Can I fry these instead of baking?
Technically, yes, but I don’t recommend it. The recipe is designed for baking, so the texture and timing are optimized for that method. If you want fried donuts, you’ll need to adjust the batter and frying temperature — and honestly, it’s more work for the same result. Stick to baking for ease and better texture.
How long do these donuts last?
They’re best eaten within 24 hours. Store them in an airtight container at room temperature. If you need to keep them longer, refrigerate for up to 3 days, but the texture may soften. Reheat in a toaster oven for 2-3 minutes to restore crispiness.
Can I freeze them?
Yes, but freeze them before adding the glaze and toppings. Wrap them individually in plastic wrap, then place in a freezer bag. They’ll keep for up to 2 months. Thaw at room temperature, then glaze and top before serving.
Can I use a different filling?
Absolutely! Try peanut butter, Nutella, or even a simple vanilla cream. The donut base is versatile — you can fill it with anything you love. Just make sure the filling is thick enough to hold its shape.
Final Thoughts
There’s something so comforting about making donuts at home. The smell of baking dough, the sound of the oven timer dinging, the sight of those golden, glazed treats lined up on the counter — it’s pure joy.
These Oreo donuts are more than just a dessert. They’re a treat that brings people together — whether you’re sharing them with family, serving them at a party, or just indulging yourself after a long day. They’re rich, sweet, and packed with flavor, but they’re also surprisingly easy to make.
So go ahead — grab your ingredients, preheat that oven, and make a batch. I promise, you won’t regret it. And if you do? Well, that’s what second helpings are for.
Oreo Donuts Recipe
|
Prep Time 20 minutes |
Cook Time 15 minutes |
Total Time 35 minutes |
Servings 12 donuts |
Calories 385 |
Nutrition (per serving)
| Protein | 4g | Carbs | 52g |
| Fat | 18g | Fiber | 2g |
📝 Ingredients
Donut Batter
- 2 cups all-purpose flour
- 1/2 cup granulated sugar
- 1 teaspoon baking powder
- 1/4 teaspoon salt
- 3/4 cup milk
- 1/4 cup vegetable oil
- 1 teaspoon vanilla extract
- 1 large egg
Oreo Filling
- 12 Oreo cookies
- 1/4 cup, softened butter
Glaze
- 1 cup powdered sugar
- 2-3 tablespoons milk
- 1/2 teaspoon vanilla extract
Toppings
- 1/2 cup crushed Oreo cookies
👩🍳 Directions
| 1 | Preheat oven to 350°F (175°C). Grease a donut pan with non-stick spray or butter. |
| 2 | In a large bowl, whisk together flour, sugar, baking powder, and salt. |
| 3 | In a separate bowl, mix milk, vegetable oil, vanilla extract, and egg until well combined. |
| 4 | Pour wet ingredients into dry ingredients and stir until just combined. Do not overmix. |
| 5 | Scoop batter into donut pan, filling each mold about 3/4 full. |
| 6 | Bake for 12-15 minutes, or until a toothpick inserted comes out clean. |
| 7 | Let donuts cool in pan for 5 minutes, then transfer to a wire rack to cool completely. |
| 8 | While donuts cool, prepare the Oreo filling: crush 12 Oreos into fine crumbs using a food processor or rolling pin. |
| 9 | In a small bowl, mix crushed Oreos with softened butter until smooth and creamy. |
| 10 | Use a small knife or piping bag to make a hole in the center of each donut, then fill with Oreo cream. |
| 11 | Prepare the glaze by mixing powdered sugar, 2 tablespoons milk, and vanilla extract. Add more milk if needed to reach a drizzling consistency. |
| 12 | Drizzle glaze over filled donuts, then immediately sprinkle with crushed Oreo cookies. |
| 13 | Let glaze set for 10-15 minutes before serving. Store leftovers in an airtight container for up to 2 days. |