
Remember that time you tried to make chocolate-covered strawberries for your partner’s birthday and ended up with a sticky mess that looked like melted crayons? Yeah, me too. But guess what? That disaster taught me a few key things — like how important it is to dry your strawberries completely and not overheat the chocolate. Today, I’m sharing my foolproof method for making stunning pink chocolate covered strawberries that look like they came from a fancy dessert shop. And trust me, they taste even better than they look.
📋 Quick Recipe Overview
Nutrition Facts (per serving)
Ingredients
Quick Steps
- 1. Wash and dry strawberries thoroughly
- 2. Melt white chocolate with coconut oil
- 3. Add pink food coloring to chocolate
- 4. Dip strawberries one at a time
- 5. Decorate with sprinkles and glitter
- 6. Place on parchment-lined tray
- 7. Chill until set
- 8. Serve and enjoy!
Why You’ll Love This Pink Chocolate Covered Strawberries Recipe
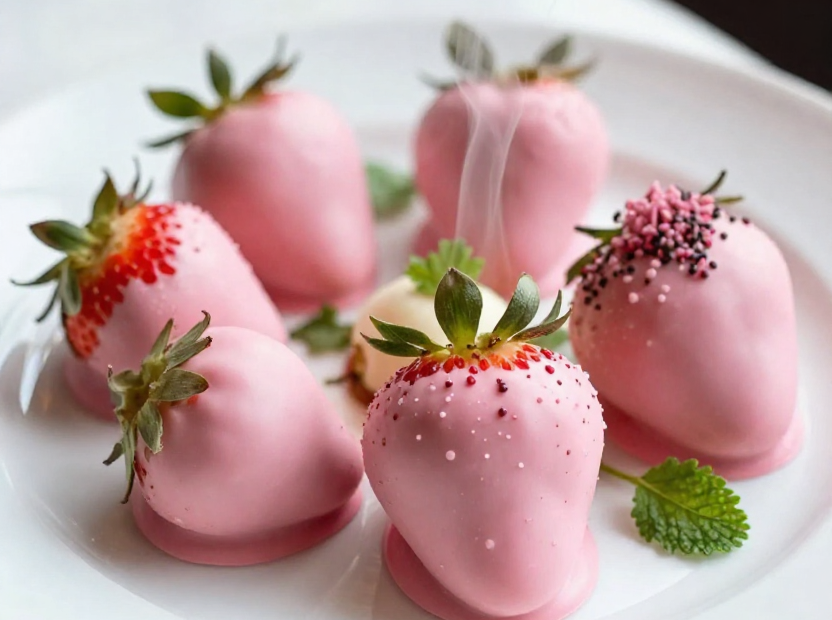
There’s something magical about biting into a cool, juicy strawberry wrapped in smooth, sweet pink chocolate. It’s like summer in your mouth — bright, playful, and totally indulgent. Whether you’re making them for Valentine’s Day, a birthday, or just because you deserve a treat, these strawberries are guaranteed to impress.
Plus, they’re surprisingly easy to make at home. No fancy equipment, no complicated steps. Just a few ingredients and about 30 minutes of your time. And the best part? You can customize them with sprinkles, edible glitter, or even drizzle them with white chocolate for extra flair.
Prep Time: 10 minutes | Cook Time: 0 minutes | Servings: 12
What You’ll Need
Before we dive in, let’s gather everything you need. I’ve included only the essentials — no fancy or hard-to-find ingredients here.
Ingredients
- 12 large fresh strawberries (the plump, firm ones work best)
- 1 cup white chocolate chips (high-quality ones melt smoother)
- 1/2 teaspoon pink food coloring gel (liquid coloring can make chocolate too runny)
- 1 tablespoon coconut oil (helps chocolate melt smoothly and sets faster)
- 2 tablespoons sprinkles (pink, heart-shaped, or rainbow — your choice)
- 1 teaspoon edible glitter (optional, but so pretty)
- 12 toothpicks (for dipping)
- 1 sheet parchment paper
- 1 baking sheet
- 1 small bowl (for melting chocolate)
How to Make Pink Chocolate Covered Strawberries
Let’s get started. This recipe is as simple as it gets — just a few steps, and you’ll have a tray of gorgeous, delicious strawberries ready to serve.
Step-by-Step Instructions
-
Wash the strawberries under cold water and gently pat them dry with a paper towel. This is crucial — any moisture will cause the chocolate to seize. I learned this the hard way when my first batch turned into a sad, clumpy mess.
-
Insert a toothpick into the stem end of each strawberry. This makes dipping easier and gives you something to hold onto without getting chocolate on your fingers.
-
Place the parchment paper on the baking sheet. Set aside for now — you’ll need it soon.
-
In a small bowl, combine the white chocolate chips and coconut oil. Microwave in 30-second intervals, stirring between each, until completely melted. This usually takes 1-2 minutes total. Don’t overheat — you want it smooth, not scalded.
-
Stir in the pink food coloring gel until the chocolate is evenly colored. Start with a little — you can always add more. I like a soft, blush pink, but go bold if you’re feeling adventurous.
-
One at a time, dip each strawberry into the chocolate, swirling gently to coat. Let the excess drip off for a second, then place it on the parchment-lined tray.
-
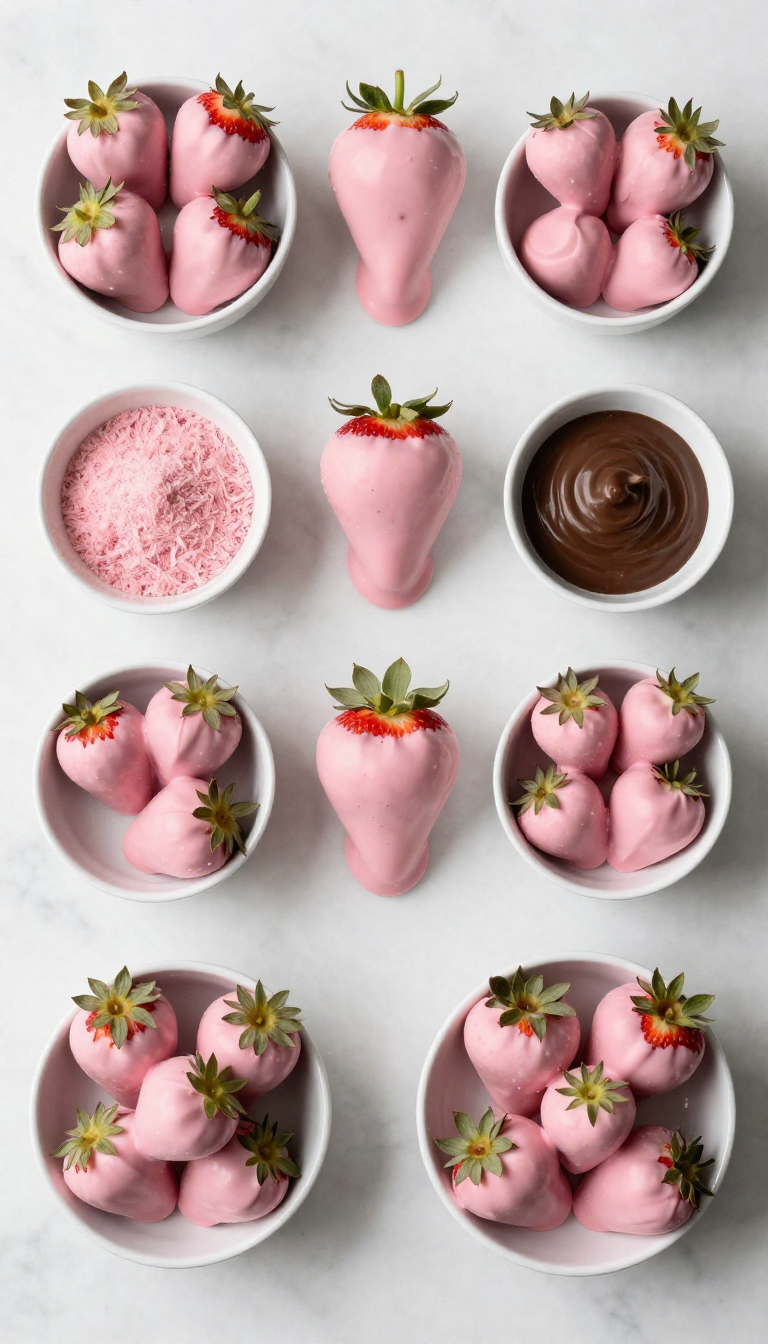
While the chocolate is still wet, sprinkle with your favorite decorations — sprinkles, glitter, or even crushed candy. Press gently so they stick.
-
Place the tray in the refrigerator for 15-20 minutes, or until the chocolate is fully set. If you’re in a hurry, you can use the freezer for 10 minutes, but watch closely — you don’t want the strawberries to freeze.
-
Once set, gently remove the toothpicks and serve. Or, if you’re gifting them, wrap each one in a small piece of parchment paper or place them in a decorative box.
Tips for Success
Even with a simple recipe, a few pro tips can make all the difference. Here’s what I’ve learned from years of trial and error:
-
Dry your strawberries thoroughly. Even a tiny bit of water can cause the chocolate to separate or become grainy.
-
Use gel food coloring. Liquid food coloring can thin out the chocolate too much. Gel gives vibrant color without changing the consistency.
-
Don’t overheat the chocolate. Melt in short bursts and stir often. If it gets too hot, it can seize — meaning it turns thick and lumpy. If that happens, add a teaspoon of coconut oil and stir until smooth again.
-
Work quickly when decorating. The chocolate sets fast, especially in a cool kitchen. Have your sprinkles ready before you start dipping.
-
Use high-quality white chocolate. Cheaper brands can taste waxy or grainy. I recommend Ghirardelli or Callebaut for the smoothest texture.
Common Mistakes to Avoid
Let’s be real — we’ve all made mistakes in the kitchen. Here are the top ones to watch out for:
-
Using wet strawberries — this is the #1 reason chocolate doesn’t set properly.
-
Overheating the chocolate — it can burn or seize, ruining the whole batch.
-
Adding too much food coloring — it can make the chocolate too runny or change the flavor.
-
Not letting the chocolate set fully — they’ll be messy and fall apart if you try to move them too soon.
-
Using regular sprinkles — some are not food-safe for chocolate. Stick to edible, chocolate-safe sprinkles or edible glitter.
FAQ: Your Pink Chocolate Covered Strawberry Questions Answered
Got questions? I’ve got answers. Here are the most common ones I get when sharing this recipe.
Can I use milk chocolate instead of white chocolate?
Yes, absolutely! You can use milk chocolate chips instead. Just know that the color will be a lighter pink, and the flavor will be richer and slightly less sweet. If you want a vibrant pink, you might need to add a bit more food coloring.
How long do they last?
These strawberries are best enjoyed within 24 hours. Store them in the refrigerator in an airtight container. If you leave them out at room temperature for too long, the chocolate may soften or melt, especially in warm weather.
Can I make them ahead of time?
Yes, you can make them up to 12 hours in advance. Just keep them refrigerated until you’re ready to serve. If you’re gifting them, consider placing them in a box with a small piece of parchment paper between each strawberry to prevent sticking.
What if I don’t have coconut oil?
Coconut oil helps the chocolate melt smoothly and set faster. If you don’t have it, you can use a neutral oil like canola or vegetable oil — but use just 1/2 teaspoon instead. Too much oil can make the chocolate too runny.
Can I make them vegan?
Definitely! Use dairy-free white chocolate chips and ensure your sprinkles are vegan. I like using Enjoy Life brand chocolate chips — they’re creamy, melt beautifully, and are safe for those with allergies.
Final Thoughts
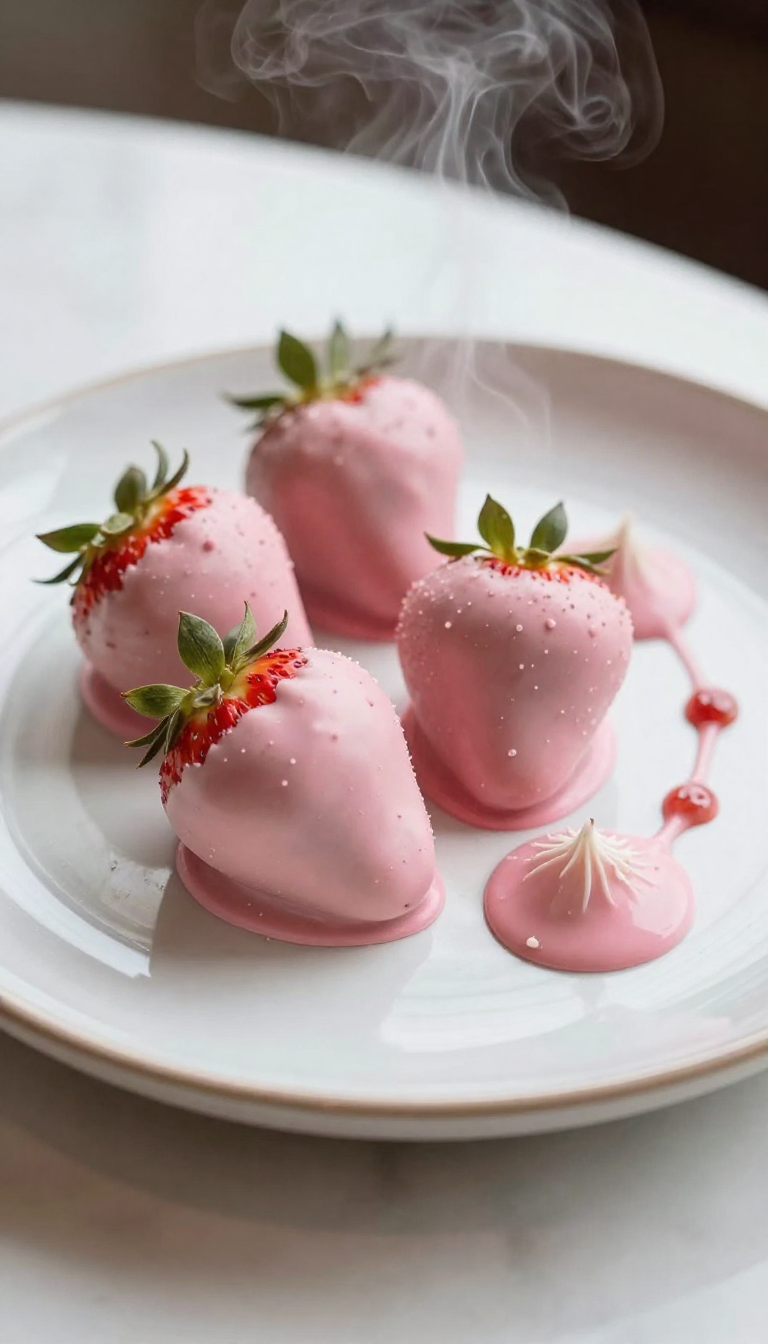
There’s something so satisfying about making something beautiful and delicious with your own hands. These pink chocolate covered strawberries are the perfect blend of fun, flavor, and fancy — without being fussy.
Whether you’re making them for a special someone, a party, or just because you deserve a little sweetness in your day, I hope you love this recipe as much as I do. And if you try it, let me know how it turns out — I’d love to hear your version of the story!
Happy dipping, and remember: even if your first batch isn’t perfect, it’s still delicious. That’s what makes cooking so much fun — the messes, the mistakes, and the sweet rewards.