
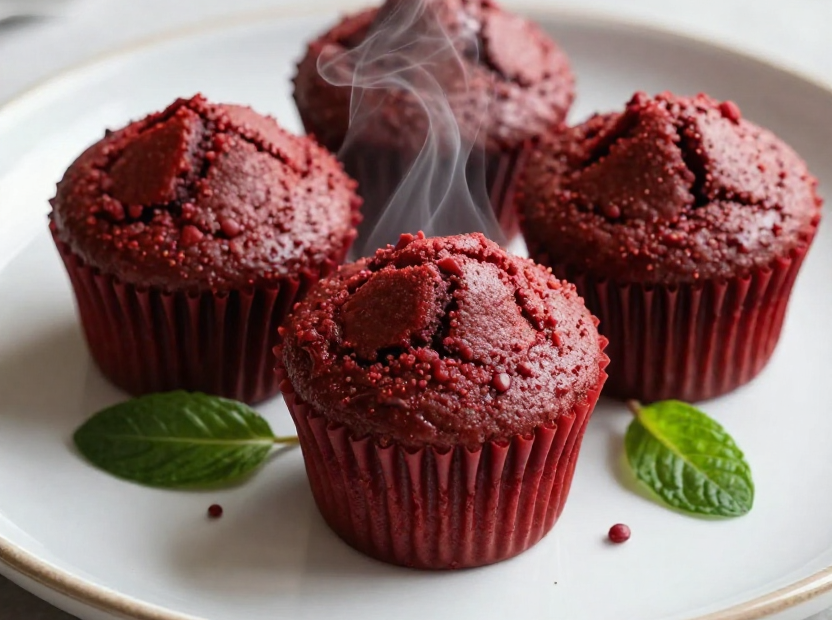
Let me tell you a secret: I used to think red velvet muffins were just fancy cake in disguise. Then I made my first batch, and I was hooked. The moment I pulled them out of the oven, the warm, buttery aroma hit me like a hug. The color? Deep, velvety red. The texture? So soft and tender, almost like a cloud. And the cream cheese frosting? Oh, it’s the perfect sweet-salty finish. If you’ve ever been intimidated by baking, let me assure you—these muffins are surprisingly easy. I’ve made them for my kids’ school bake sales, my book club, and even for my neighbor’s birthday. They always disappear fast.
📋 Quick Recipe Overview
Nutrition Facts (per serving)
Ingredients
Quick Steps
- 1. Preheat oven to 375°F and line muffin tin
- 2. Mix dry ingredients in a bowl
- 3. Cream butter and sugar until fluffy
- 4. Add eggs, buttermilk, and red coloring
- 5. Fold in dry ingredients gently
- 6. Fill muffin cups 3/4 full
- 7. Bake 18-20 minutes until golden
- 8. Cool and frost with cream cheese icing
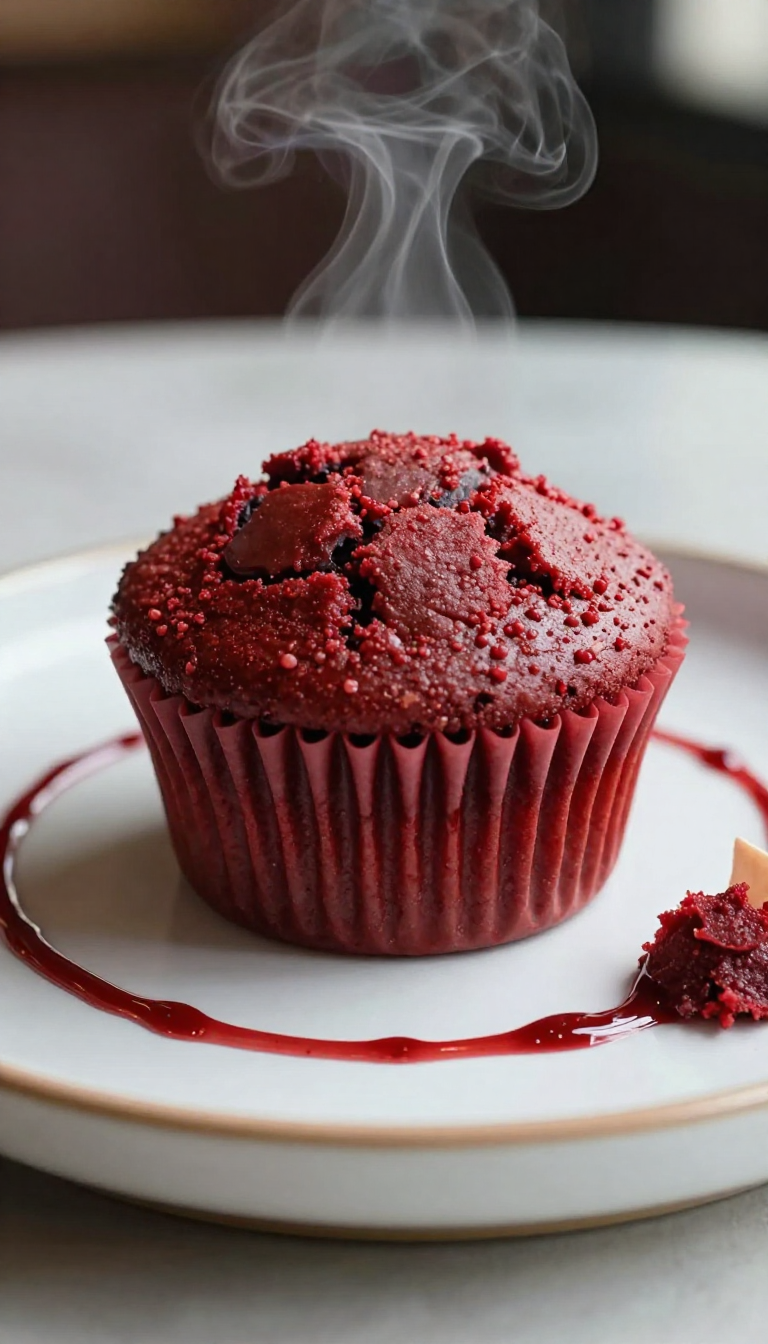
Why You’ll Love These Red Velvet Muffins
These aren’t your average muffins. They’re a little more special—rich, moist, and packed with flavor. The red food coloring gives them that signature pop, but don’t worry, it doesn’t taste like dye. The cocoa powder adds a subtle chocolate depth, and the buttermilk keeps them tender. And that cream cheese frosting? It’s not just for show. It adds a tangy contrast that makes each bite sing.
Best of all, they’re quick to make. From start to finish, you’re looking at about 40 minutes. That’s less time than it takes to watch an episode of your favorite show. Plus, they’re perfect for any occasion—morning coffee, afternoon snack, or even a dessert after dinner. I once brought them to a potluck, and someone asked if I’d bought them from a bakery. That’s when I knew I’d nailed it.
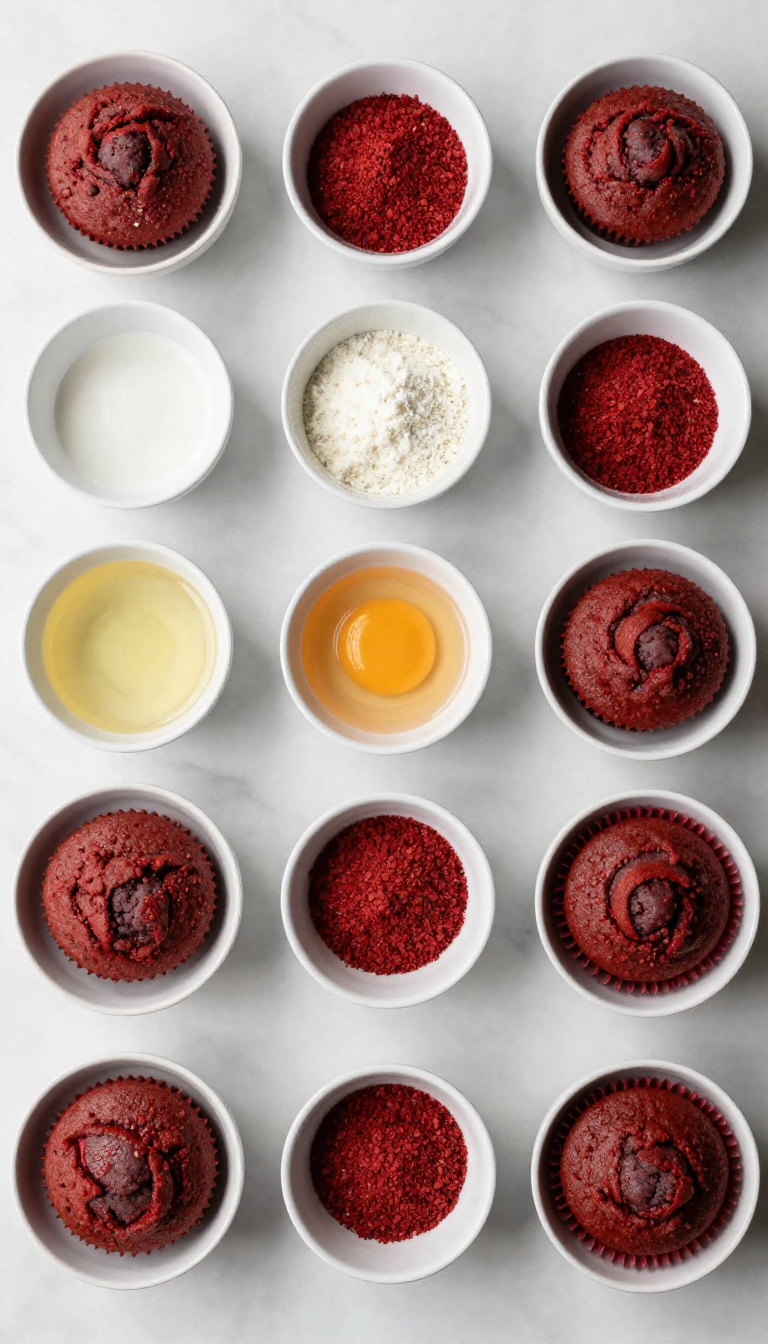
What You’ll Need for Red Velvet Muffins
Before we get started, let’s talk ingredients. You probably already have most of these in your pantry. The key is using good-quality butter and fresh eggs for the best texture. And yes, you do need red food coloring. I’ve tried making them without it, and they turn out more like chocolate muffins. The red is what makes them *red* velvet, after all.
For the Muffins
- 1 3/4 cups all-purpose flour
- 1 cup granulated sugar
- 1/2 cup unsalted butter, softened
- 2 large eggs
- 1/2 cup buttermilk
- 2 tablespoons red food coloring
- 1 teaspoon vanilla extract
- 1 teaspoon baking soda
- 1 tablespoon cocoa powder
- 1/4 teaspoon salt
For the Cream Cheese Frosting
- 4 ounces cream cheese, softened
- 1/2 cup powdered sugar
- 1 tablespoon heavy cream
Pro tip: I always measure my flour by spooning it into the cup, then leveling it off. Scooping directly from the bag packs it down and can make your muffins dense. Trust me, it makes a difference.
Step-by-Step Instructions
Ready to bake? Let’s get into it. I promise, even if you’re new to baking, you’ll do great. I’ve made these with my 8-year-old niece, and she did most of the mixing. Just follow these steps, and you’ll have a batch of beautiful red velvet muffins in no time.
- Preheat your oven to 375°F. Line a 12-cup muffin tin with paper liners or grease lightly with butter.
- In a medium bowl, whisk together the flour, sugar, baking soda, cocoa powder, and salt. Set aside.
- In a large bowl, beat the softened butter and sugar together until light and fluffy—about 2 minutes with an electric mixer.
- Beat in the eggs, one at a time, then add the buttermilk, red food coloring, and vanilla. Mix until smooth.
- Gradually add the dry ingredients to the wet mixture, stirring gently until just combined. Don’t overmix—this keeps the muffins tender.
- Divide the batter evenly among the muffin cups, filling each about 3/4 full.
- Bake for 18 to 20 minutes, or until a toothpick inserted into the center comes out clean. The tops should be slightly golden.
- Let the muffins cool in the pan for 5 minutes, then transfer to a wire rack to cool completely.
- While the muffins cool, make the frosting. Beat the cream cheese until smooth, then add powdered sugar and heavy cream. Whip until creamy and spreadable.
- Once the muffins are cool, frost them generously. Serve immediately or store in an airtight container.
When I first made these, I was nervous about the red color. I thought it might be too intense. But after one bite, I realized it’s not about the color—it’s about the flavor. The red is just a fun bonus. And honestly, they look so festive, I’ve even used them for Valentine’s Day and Christmas. People always ask for the recipe.
Tips for Success
Here are a few insider secrets I’ve learned over the years. These tips can make the difference between good muffins and *amazing* muffins.
- Don’t overmix the batter. Overmixing develops gluten, which leads to tough muffins. Mix until just combined.
- Use room-temperature ingredients. Butter, eggs, and cream cheese should all be at room temp for even mixing and better texture.
- Don’t skip the buttermilk. It adds moisture and a slight tang that balances the sweetness. If you don’t have buttermilk, mix 1/2 cup milk with 1 tablespoon lemon juice or vinegar. Let it sit for 5 minutes before using.
- Let muffins cool before frosting. If you frost them while they’re warm, the frosting will melt and slide off.
- Use gel food coloring. It’s more concentrated and won’t alter the batter’s consistency like liquid coloring can.
Common Mistakes to Avoid
Even the best bakers make mistakes. Here are a few I’ve seen (and made myself) that you can avoid.
- Using too much red food coloring. Two tablespoons is perfect. More than that can make the batter too thin or give a slightly chemical taste.
- Baking too long. Overbaking dries out muffins. Check them at 18 minutes. They’re done when a toothpick comes out clean.
- Not letting batter rest. After mixing, let the batter sit for 5 minutes. It helps the flour hydrate and results in a more tender crumb.
- Using a metal muffin tin without liners. Paper liners make cleanup easy and prevent sticking. If you skip them, be sure to grease the tin well.
FAQs About Red Velvet Muffins
Got questions? I’ve got answers. Here are the most common ones I get from friends and readers.
Can I make these gluten-free?
Yes! Substitute the all-purpose flour with a 1:1 gluten-free baking blend. I recommend Bob’s Red Mill or King Arthur. Just be sure it’s labeled “baking blend” and includes xanthan gum. The texture might be slightly denser, but they’ll still taste delicious.
Can I freeze the muffins?
Absolutely. Let them cool completely, then wrap individually in plastic wrap and place in a freezer-safe bag. They’ll keep for up to 3 months. Thaw at room temperature and re-frost if desired. I like to freeze a batch for quick breakfasts during busy weeks.
What if I don’t have cream cheese frosting?
Don’t worry. You can skip it, or try a simple buttercream instead. Mix 1/2 cup softened butter with 1 1/2 cups powdered sugar and 1 teaspoon vanilla. It’s sweet and creamy, though not quite as tangy as cream cheese.
Can I add chocolate chips or nuts?
Definitely! I’ve added white chocolate chips for a fun twist, and chopped walnuts for a little crunch. Just fold them in after you’ve mixed the batter. Keep in mind, they’ll add a bit of extra texture and might make the muffins a little heavier.
Why are my muffins flat or dense?
There are a few culprits. First, check your baking soda—make sure it’s fresh. Old baking soda won’t rise properly. Second, don’t overmix. And third, ensure your oven is preheated. A cold oven can cause the muffins to sink in the middle.
Final Thoughts
There you have it—my favorite red velvet muffin recipe, shared with all the love and tips I’ve collected over the years. Whether you’re baking for a special occasion or just because you’re in the mood for something sweet, these muffins are a winner. They’re easy, delicious, and guaranteed to bring smiles to your table.
Don’t be afraid to experiment. Try different frostings, add-ins, or even bake them as mini muffins for parties. And if you’re new to baking, start small. Make a batch, enjoy one warm from the oven, and savor the moment. That’s what baking is all about—connection, comfort, and a little bit of magic in every bite.
Now go ahead. Preheat that oven. I’ll be right here, cheering you on. And if you try this recipe, I’d love to hear how it turned out. Drop me a note in the comments or share a photo. Happy baking!